Table of Contents
Introduction
Most of the Horizon admins knows this product as vIDM and it provides a centralized management console to manage multiple resources mentioned below
- Manage Entitlements
- Manage Users & Groups
- Manage Access & Authentication policies and etc
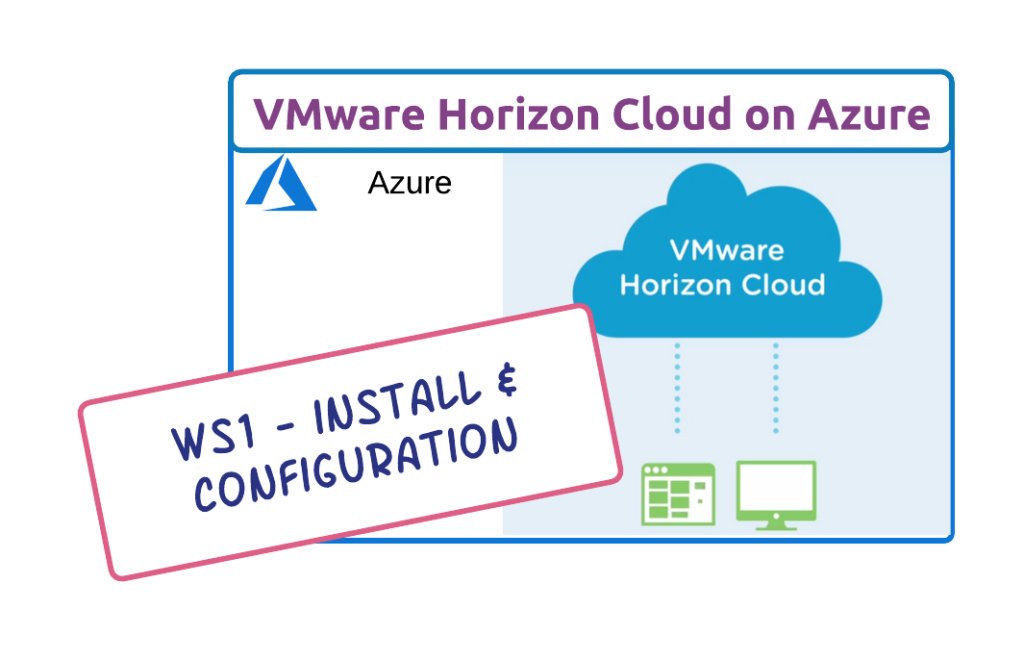
In this article, we will discuss how to create and integrate Workspace One access with Horizon Cloud on Azure step by step.
How to create a Tenant
This is a straightforward process if you already have a Horizon cloud POD and access to the admin console.
- Login to Horizon admin Console
- Navigate to Settings –> Identity Management
- Click on Setup
- Now you will be prompted with a tenant creation wizard as below

- Enter the required details like Name of the tenant, Username & E-mail.
- Once you click on SET UP, you will receive an activation email to the mail provided in the setup wizard
- Let’s park the activation for some time here and will go with Workspace One access installation
Prerequisites
- Windows VM – the preferably latest version with all windows updates installed
- Join the Domain
- Service account to run the connector service (this is to use Kerberos)
Workspace One connector Installation
Since we are going to use Workspace One for only Horizon desktops & apps, we must choose a windows-based connector.
The latest version of Windows workspace one connector version is 19.03.1
It’s good to create a new Windows VM in Azure only for better managing and for less latency in accessing desktops & apps
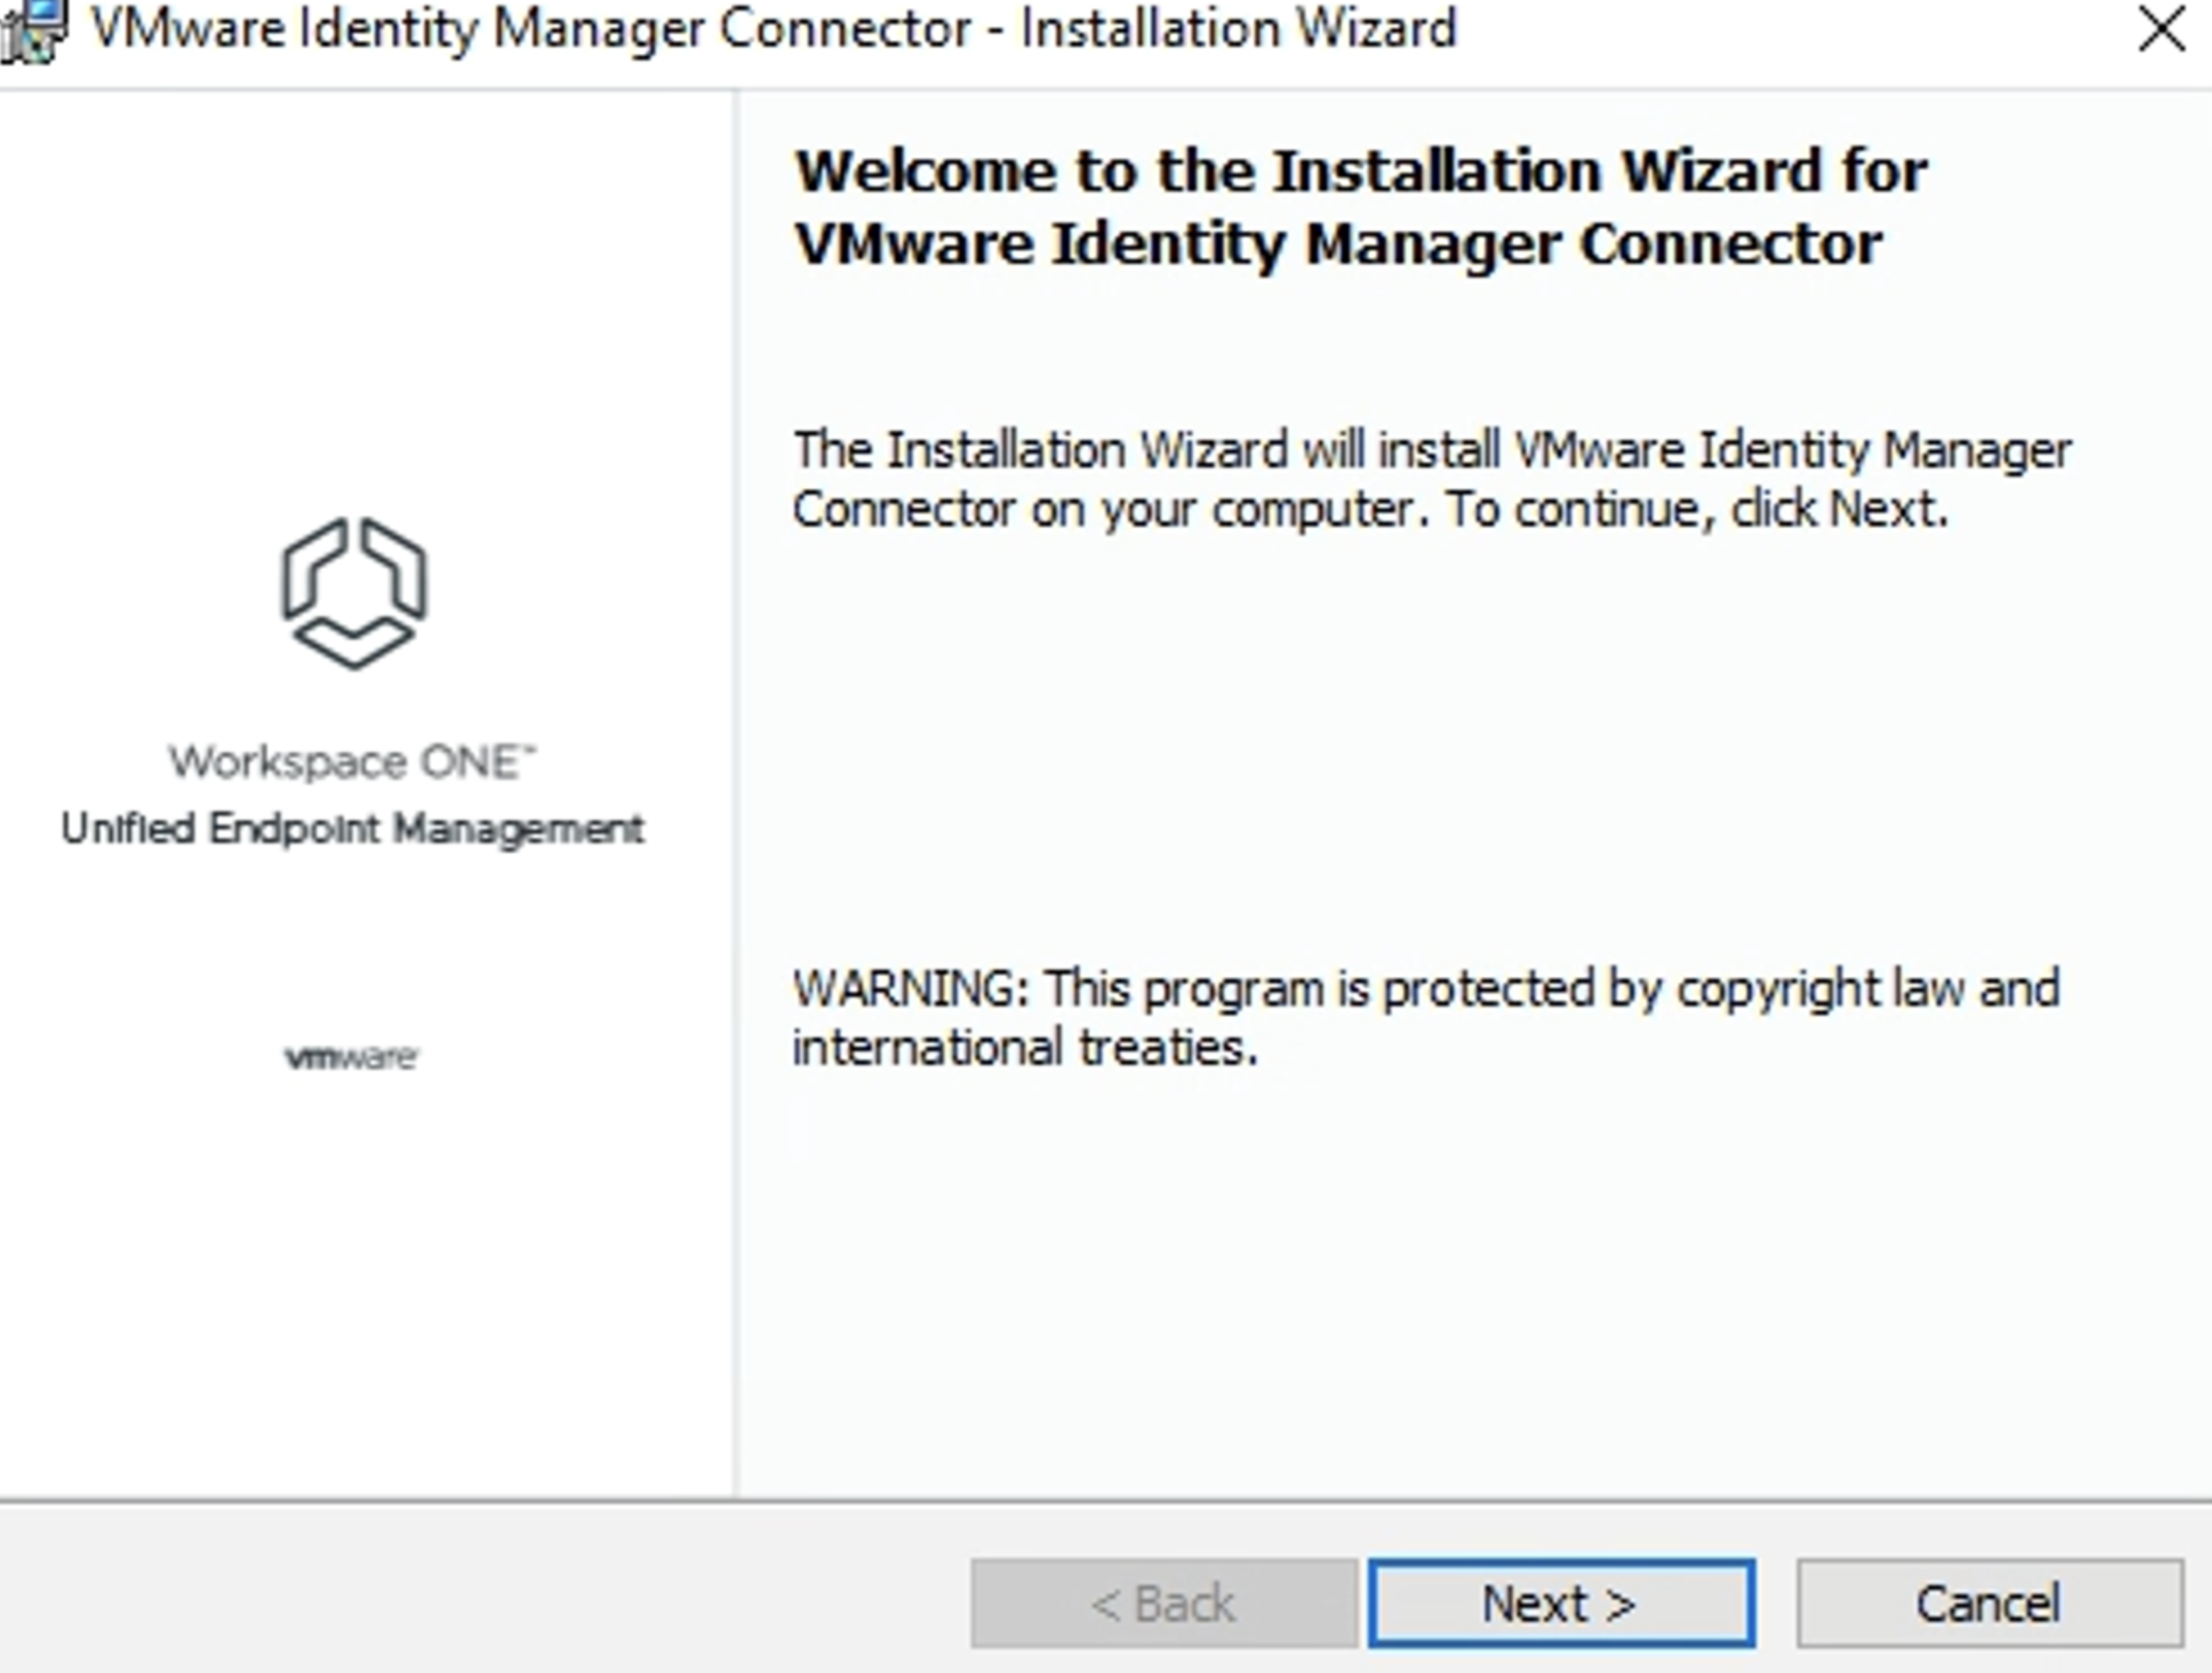
- Download the VMware Identity Manager Standalone Connector 19.03.01 from the downloads section (we will get a download link embedded in the Tenant creation welcome email)
- Once the exe file is downloaded, double click, and proceed with the installation
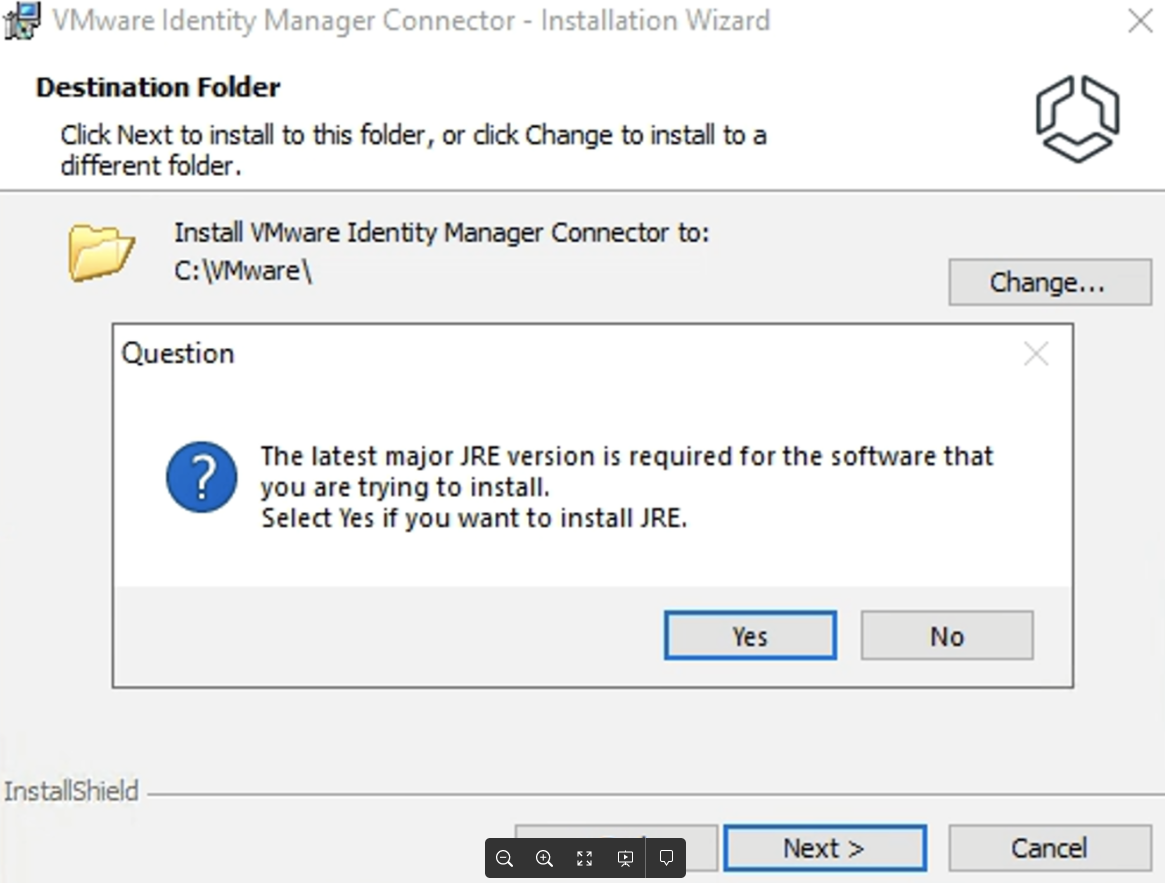
- Proceed with the default location of install which is C:\VMware\
- If JRE is not present already in the machine it will ask for an install, yes to proceed with JRE install

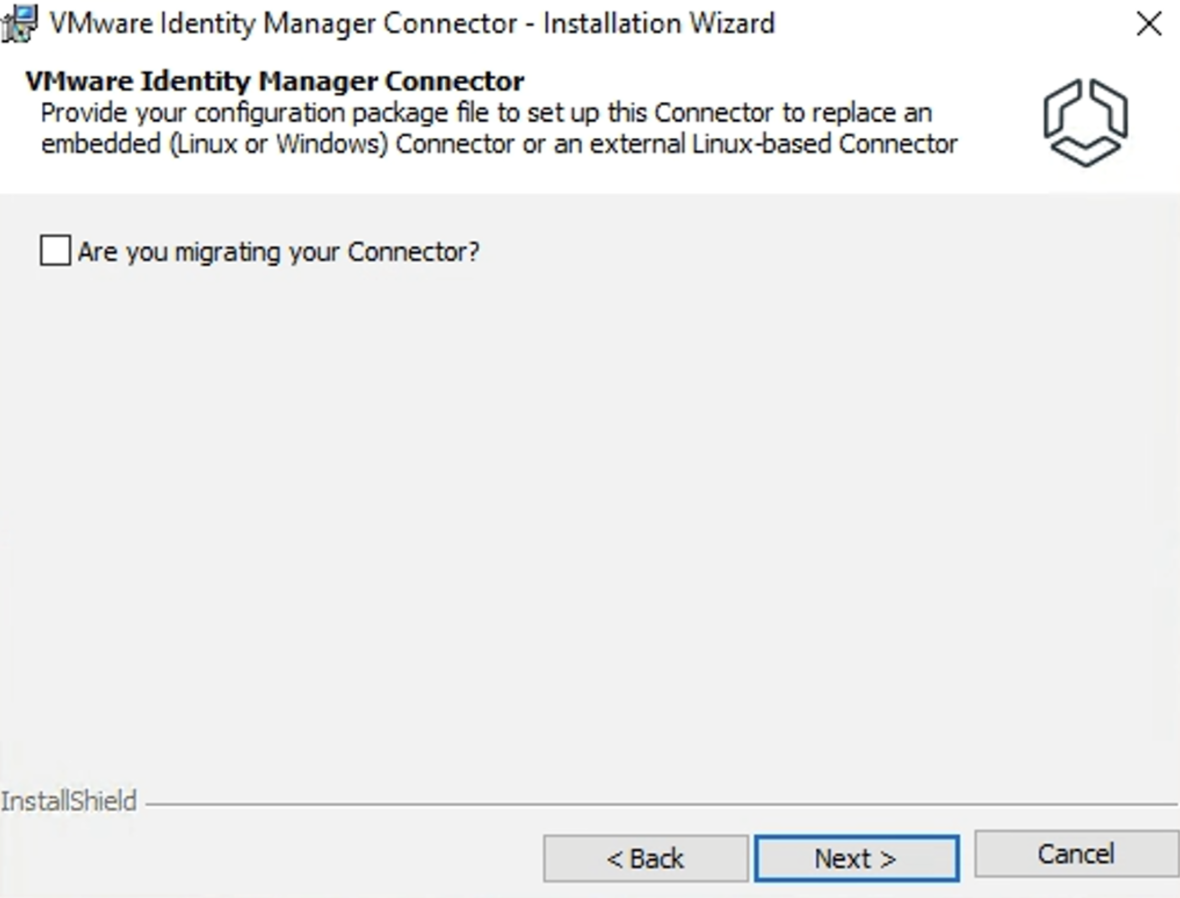
- After JRE install, since we are installing a new connector, leave the migrating your connector checkbox unchecked
- Since the VM already domain joined, Installer displays the FQDN of the VM – click Next
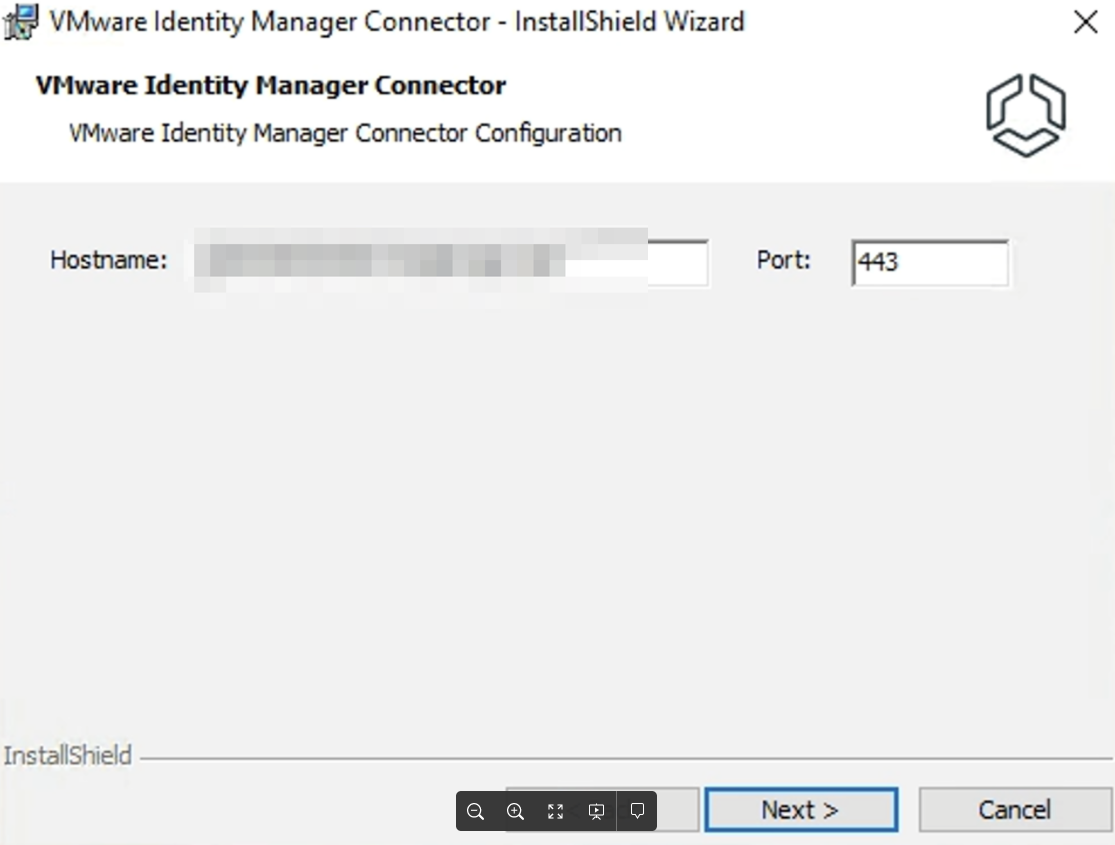
- Select the checkbox – run the Connector service as a domain user account

- Enter the service account name & password ( Username should be in Domain\Username format )- then click Next

- Click on Install & Wait till Installation completed
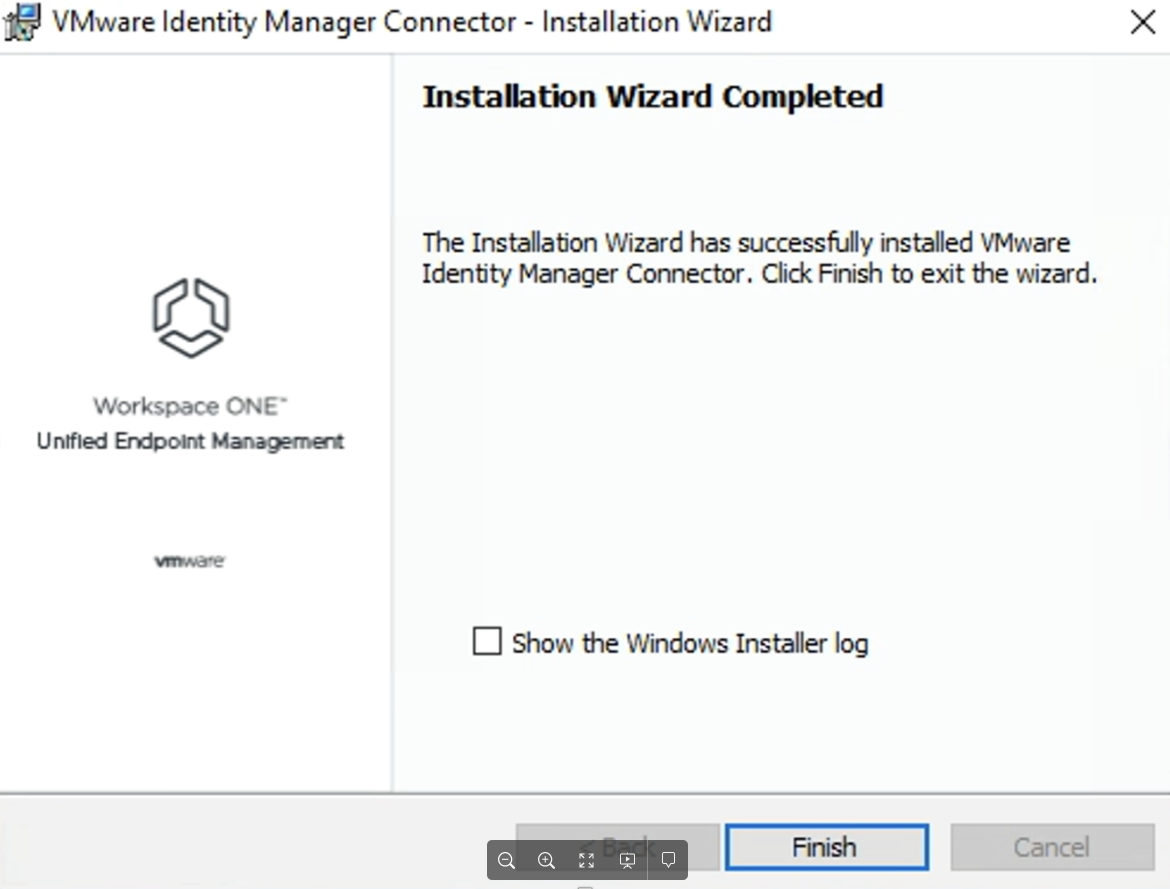
- Click On Finish, and select Yes to launch the admin page to set the password

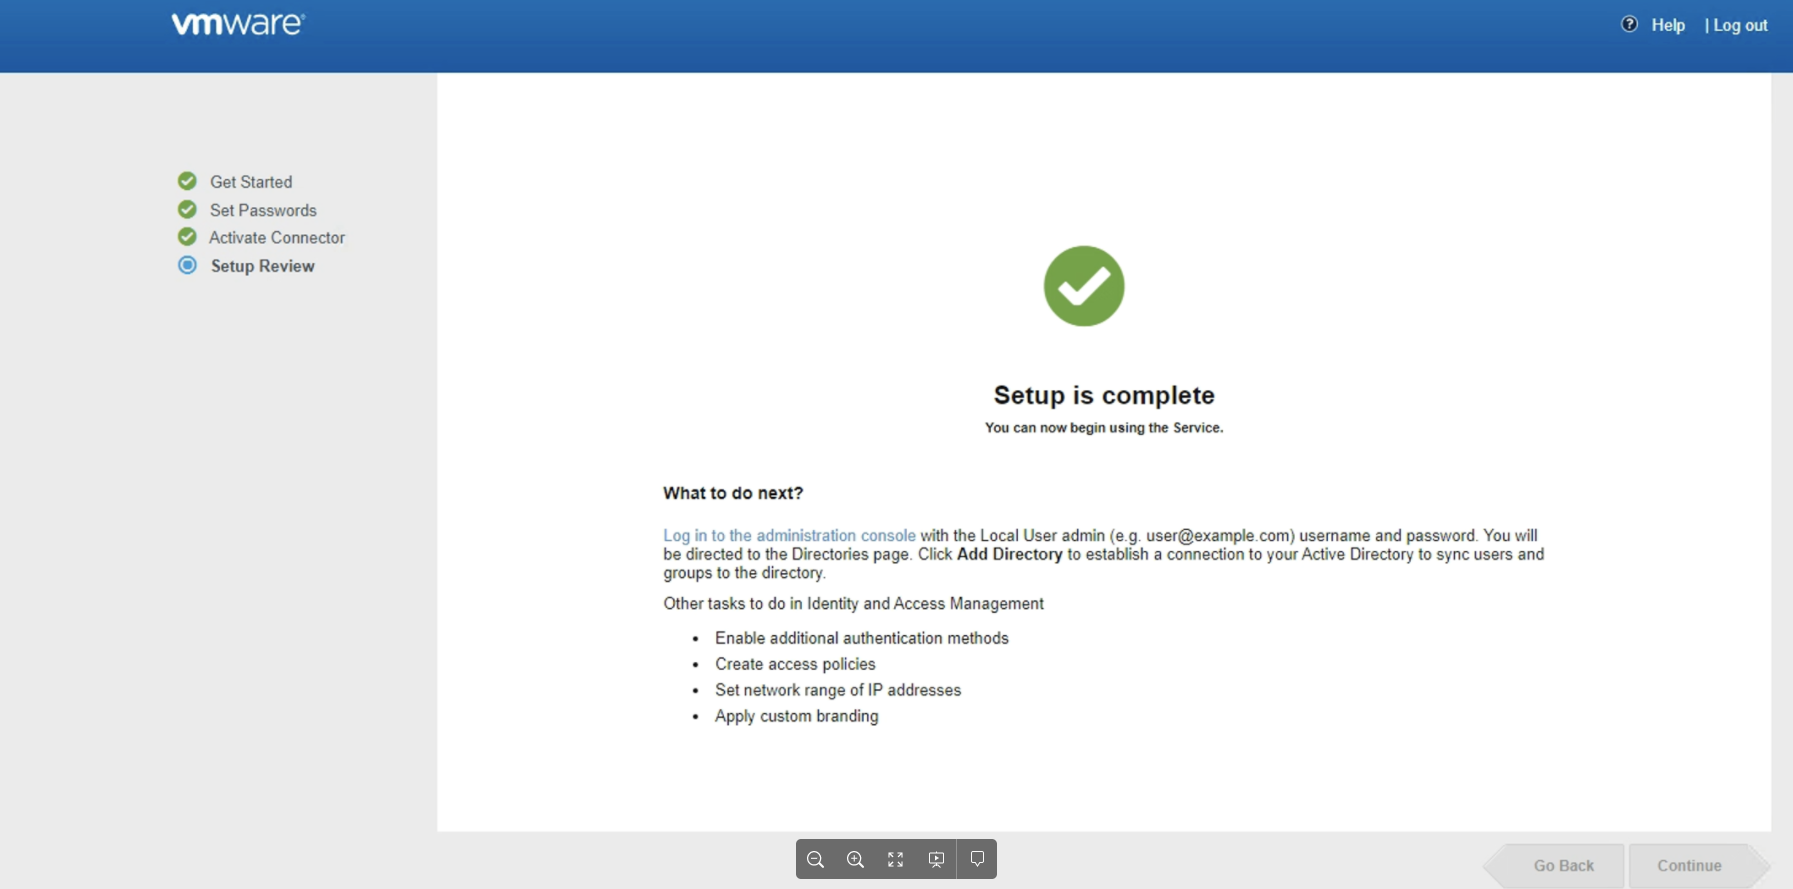
- Click Continue on Get Started page
- Set the password and click on Continue

- Enter the Activation Code (copy from the welcome email) & click Continue

- Now the setup is Complete
Workspace One connector Configuration
- Copy the link from the welcome mail, to set the password for Workspace one tenant
- After the password set, Accept the terms of service so that you will be prompted Dashboard page
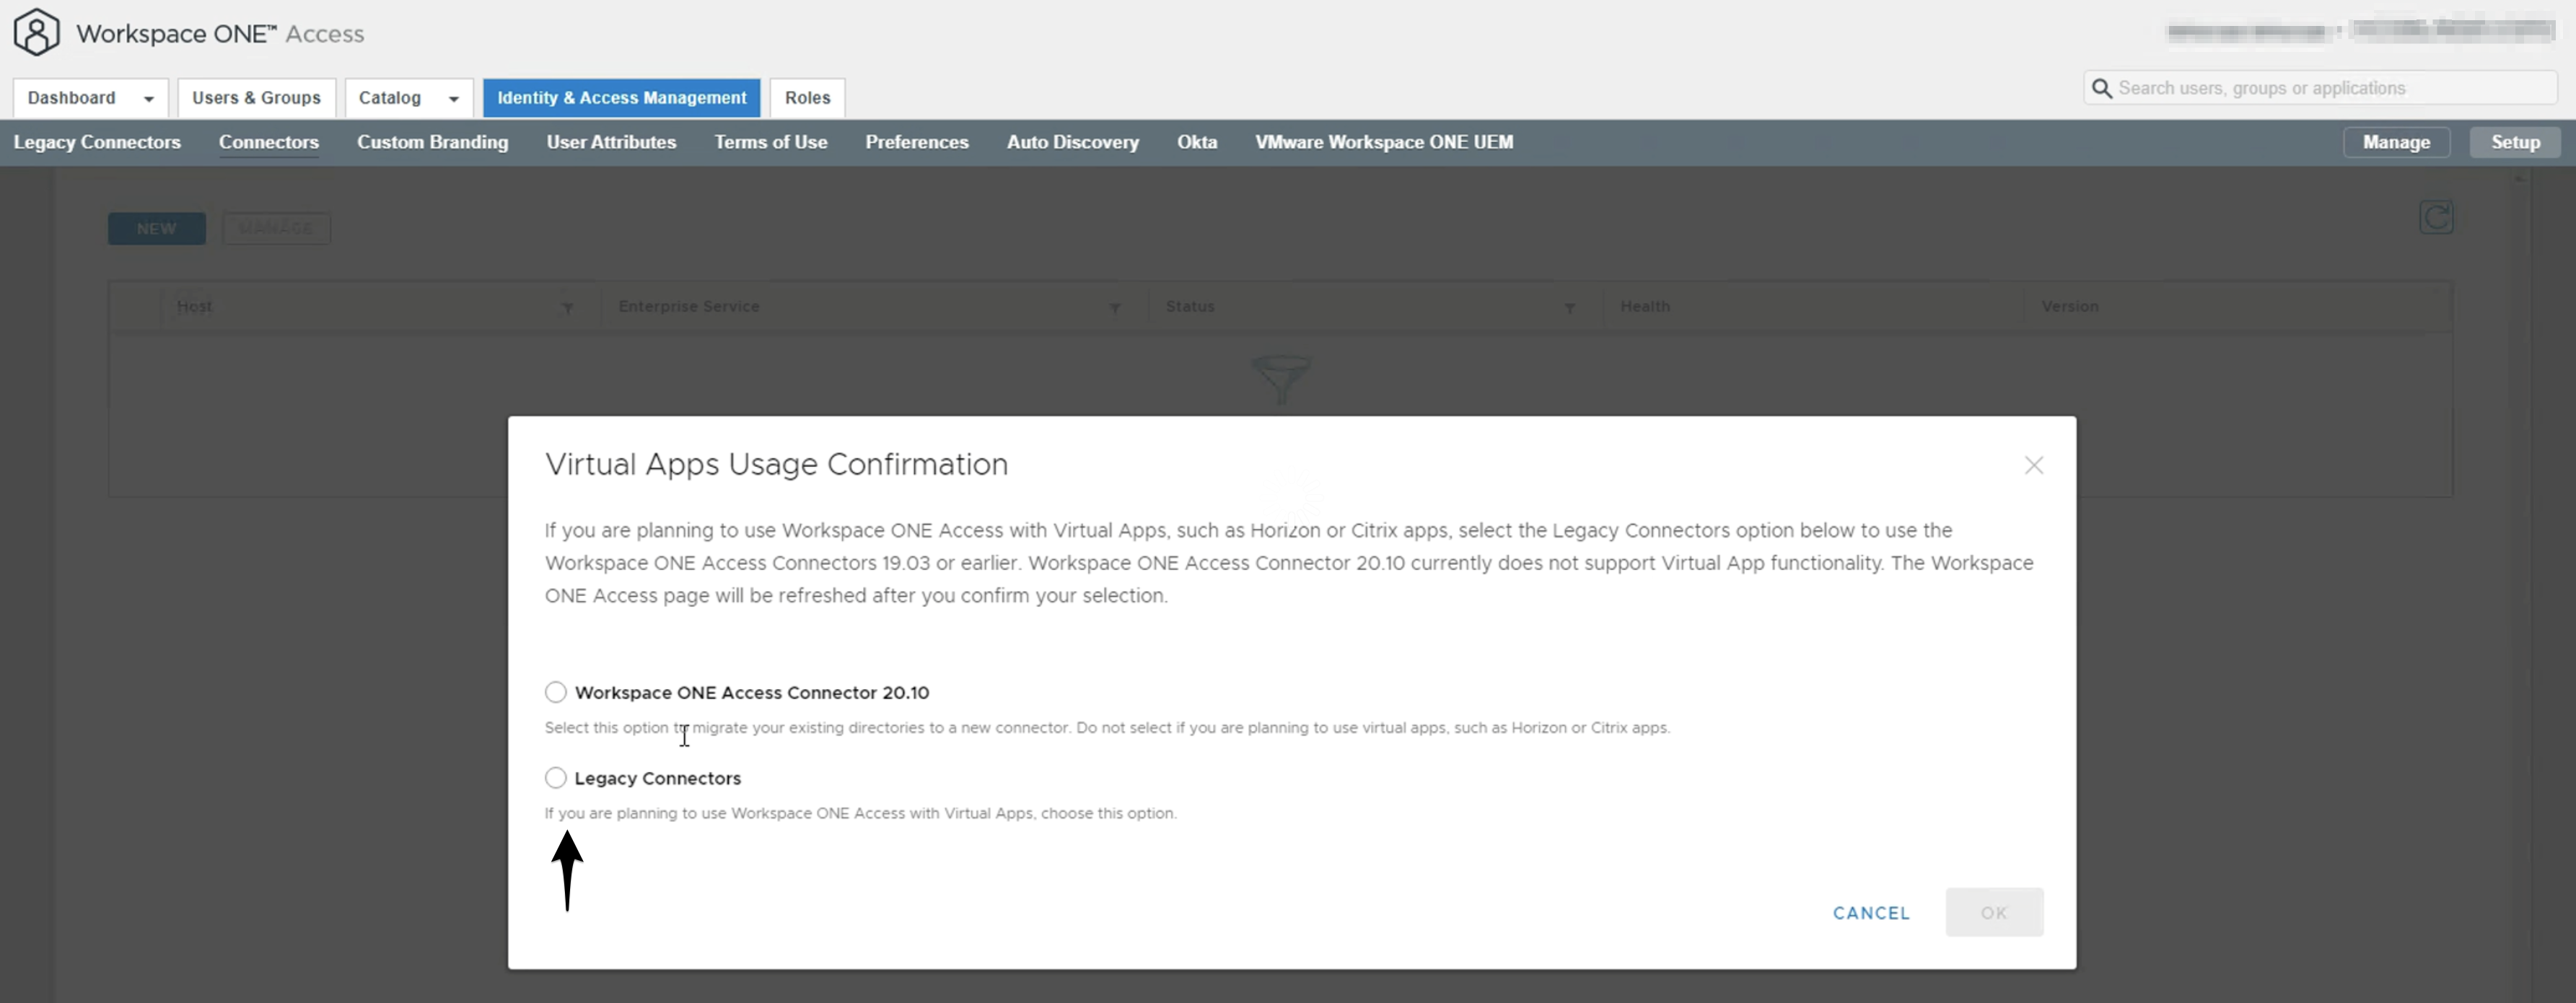
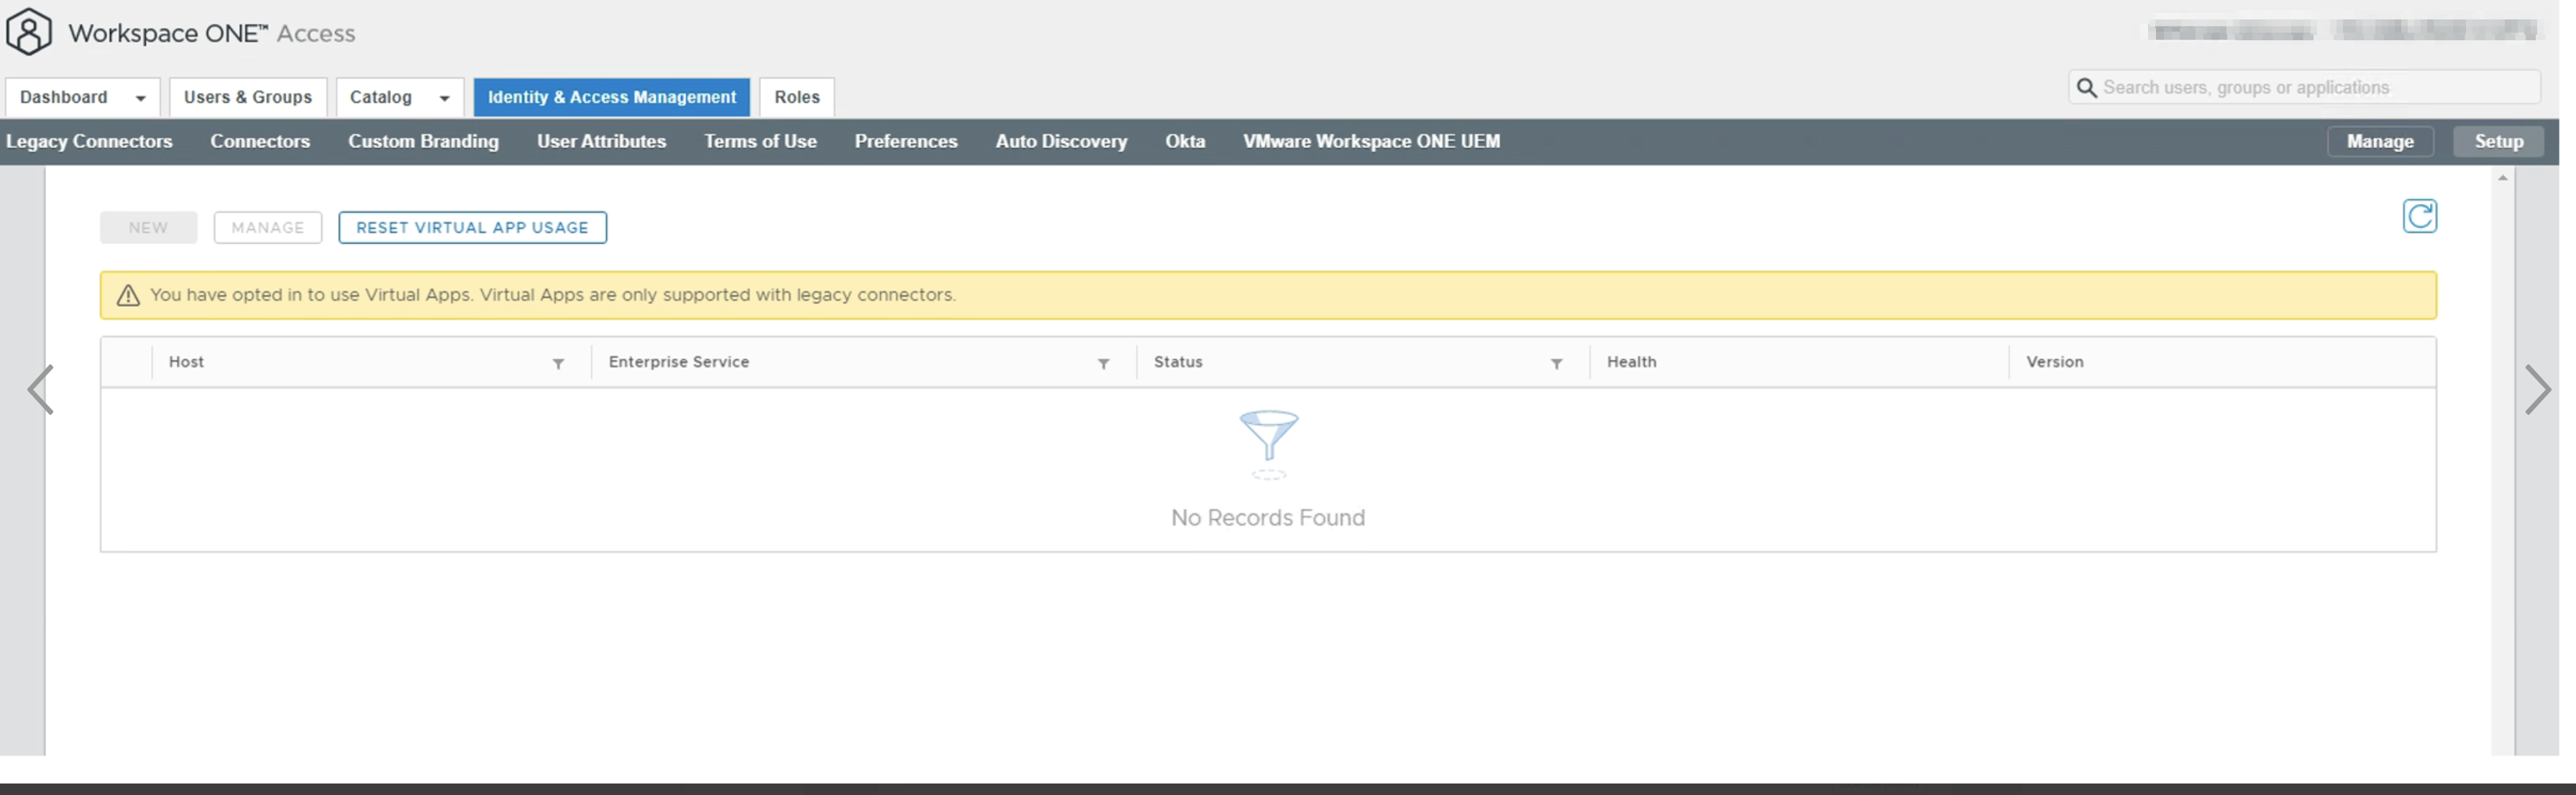
- For Horizon integration, we need to configure Virtual apps so that we must choose the Legacy Connectors
- Click on Identity & Access management –> Connectors –> select Legacy Connectors
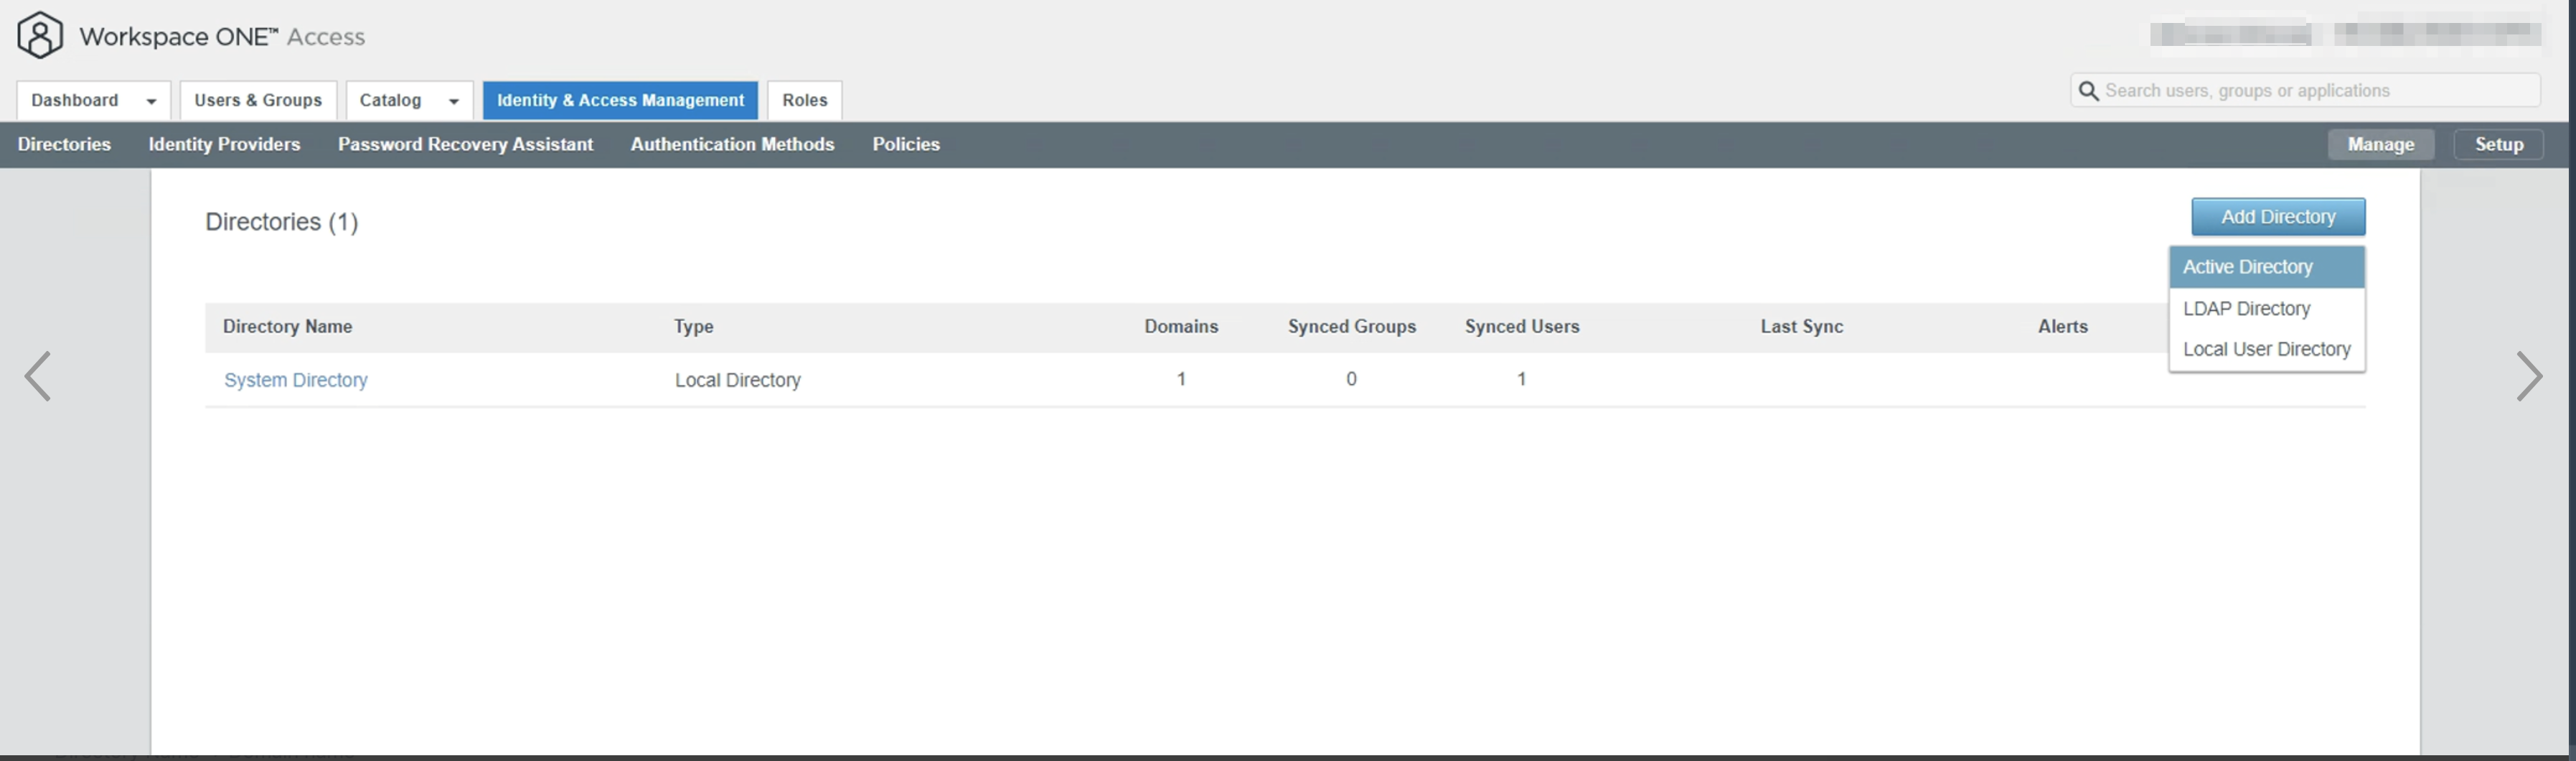
- Now it’s time to Bind Active Directory to Workspace One access
Identity & Access Management → Setup → Add Directory → Active Directory
- Enter the Details as shown below screenshot and click Next

- Once the given details are correct, you will be prompted with the below screen to select the Domain and proceed with Next

- Go with the Defaults in Map User Attributes and proceed with Next

- Add the group that you want to sync and proceed with Next


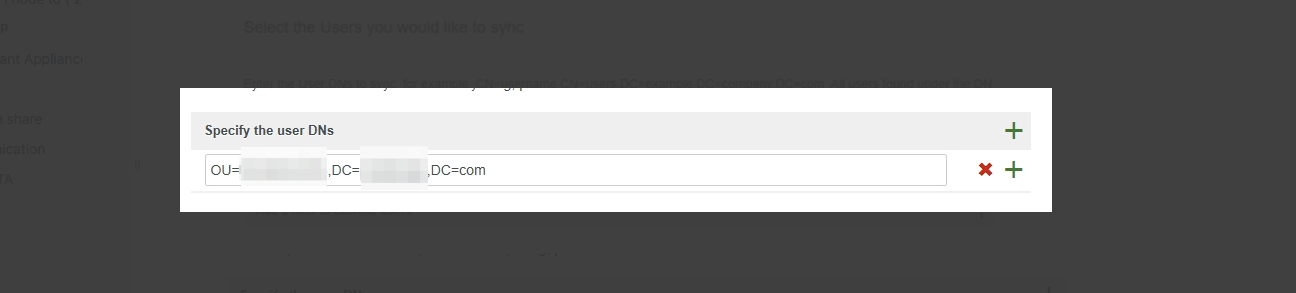
- Select the Users you would like to sync – specify the OU where User accounts are located and proceed with Next

- Sync the Directory
Virtual Apps Collections
Once the Sync is completed, to complete the integration with Horizon we have to create a Virtual app collection
Prerequisites
- Create a DNS record (Host A & PTR) for POD Load Balancer IP
- Generate a certificate with DNS Name of POD Load Balancer
- Create a service account to bind the Workspace One access with Horizon (Minimal privileges account will suffice)
- Add the service account to Super Administrators group (Horizon admin)
- Obtain CA Certificate to upload in Workspace One connector console
CA Cert Upload into Workspace One connector Console
- Login to connector using –> https://<ConnectorserverFQDN>:8443
- Click on Install SSL Certificates
- Select Trusted CAs –> ADD (Upload CA Cert here)
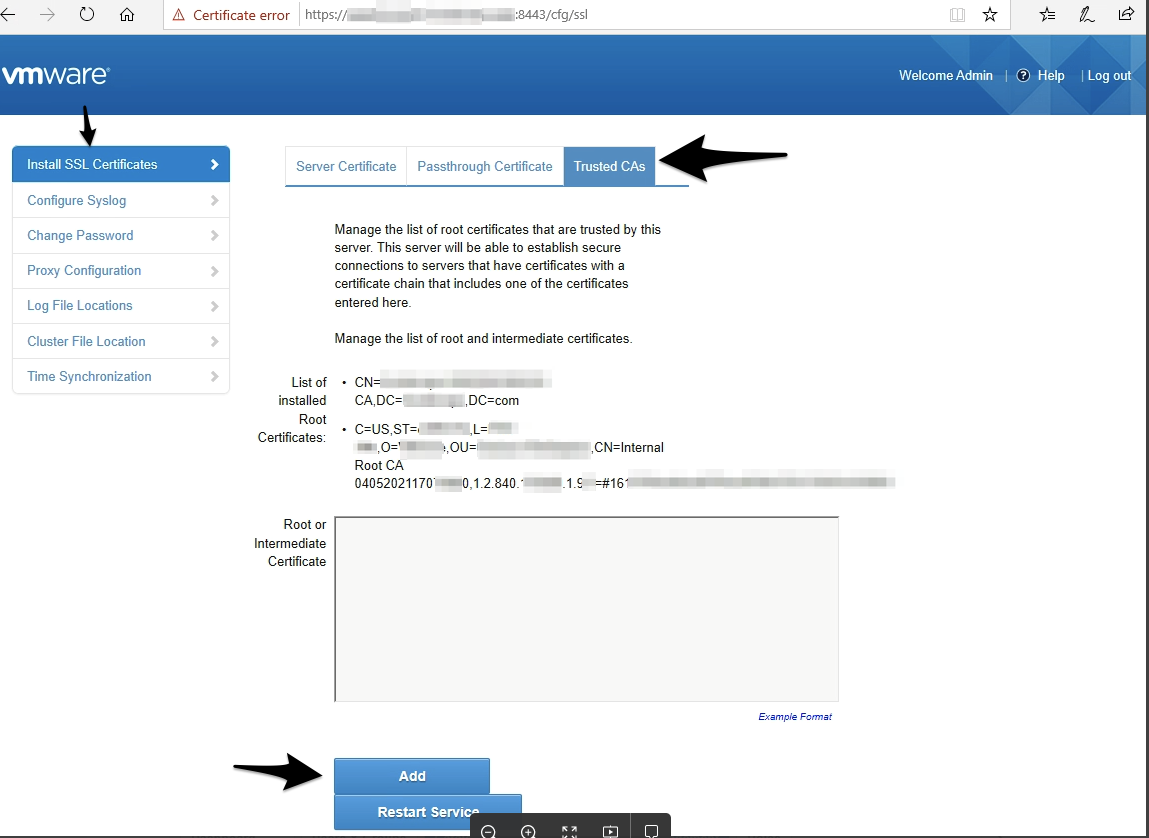
- Optionally Restart service to take affect
New Virtual App Collections
- Login to the Tenant Workspace One admin console (Copy the link from the welcome mail)
- Click on Catalog –> Virtual Apps Collection

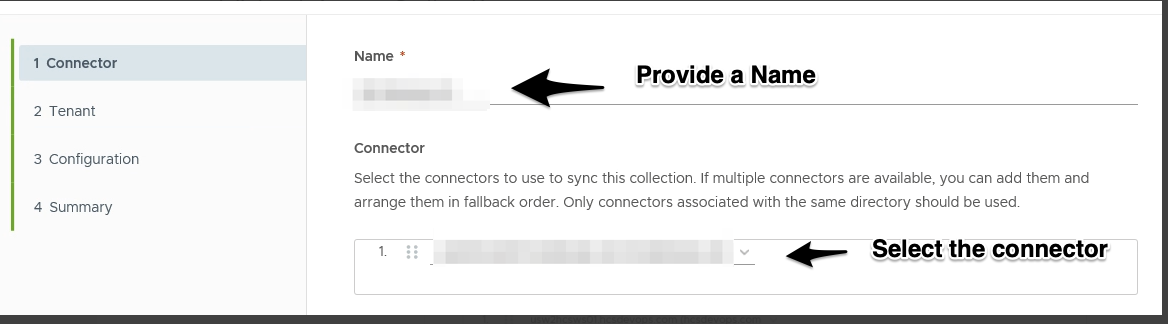
- Click NEW

- Provide a Name to the Virtual Apps Collection in Connector section as below
- Provide the details on Horizon tenant as below


- Click on SAVE
- Provide Daily Sync Frequency and click Next

- Click SAVE on Summary page
Launch Apps from Internet –> Connector Outbound Mode
If your users always connect from VPN or internal network this configuration isn’t required.
When a user login from the external means from internet after clicking in the Desktop/App the redirection goes to the Workspace One connector server FQDN and which isn’t resolvable from the internet hence below changes will be helpful
- Still in the Tenant admin console
- Navigate to Identity & Access Management –> Identity Providers –> Built-in

- Select the Domain from the User Section

- Select the checkbox for ALL RANGES in the Network Section in the same page

- Click on Add Connector from the connector section

- From the connector Authentication Methods –> Select Password (cloud deployment)
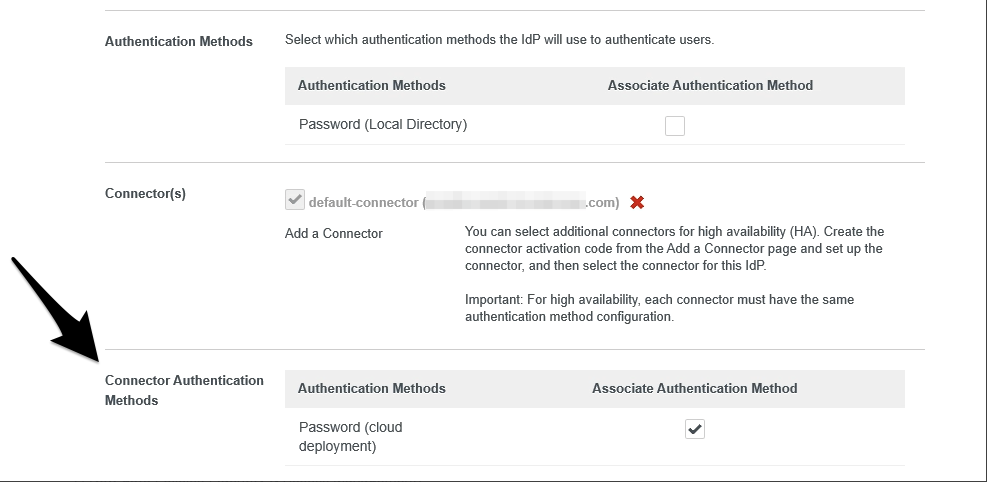
- Click on SAVE
- Navigate back to Identity & Access Management –> Policies
- Edit the already existing default_access_policy_set

- Click NEXT on the Definition page
- Click in ALL RANGES and change the value for then the user may authenticate using to Password (cloud deployment) – Do the same for Both Network range
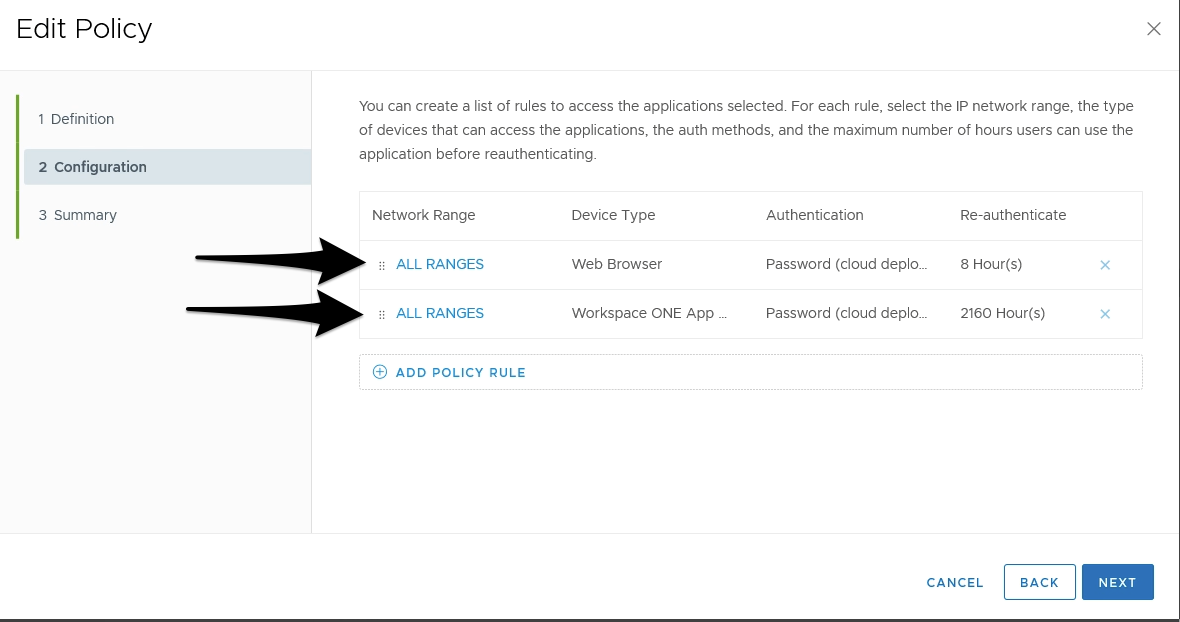

- Click on SAVE
Identity Manager Configuration in Horizon Admin console
- Log in to the admin console
- Navigate to Settings → Identity Management
- Click on NEW
- Update the below details.

Workspace One redirection will redirect the User logins to Workspace One page even if they trying to connect POD URL. - Click on SAVE
- If you would like to specify the Workspace One redirection only to either remote or internal users, you can specify it from the Configure

![Horizon Cloud on Azure – Introduction [Part-1]](https://thecloudwiki.com/wp-content/uploads/2021/04/HZC-intro-feature-image-1024x624.png)
![Horizon Cloud on Azure – POD Deployment & Troubleshooting [Part-2]](https://thecloudwiki.com/wp-content/uploads/2021/04/HZC-POD-deployment-feature-image-1024x636.png)