
We have already discussed Workspace ONE integration with Single POD broker here
In Continuation in this article, I will discuss about how to create, configure & complete the integration of Universal Broker with WS1 Hub
Table of Contents
Pre-Requisites
- Horizon cloud pods already transitioned to Universal Broker
- Windows VM to install Workspace on Connector which already joined to domain and latest windows updates installed
- Domain service account (read privileges on the domain is sufficient)
How to create a Tenant
- Login to Horizon admin console
- Navigate to Settings –> Access
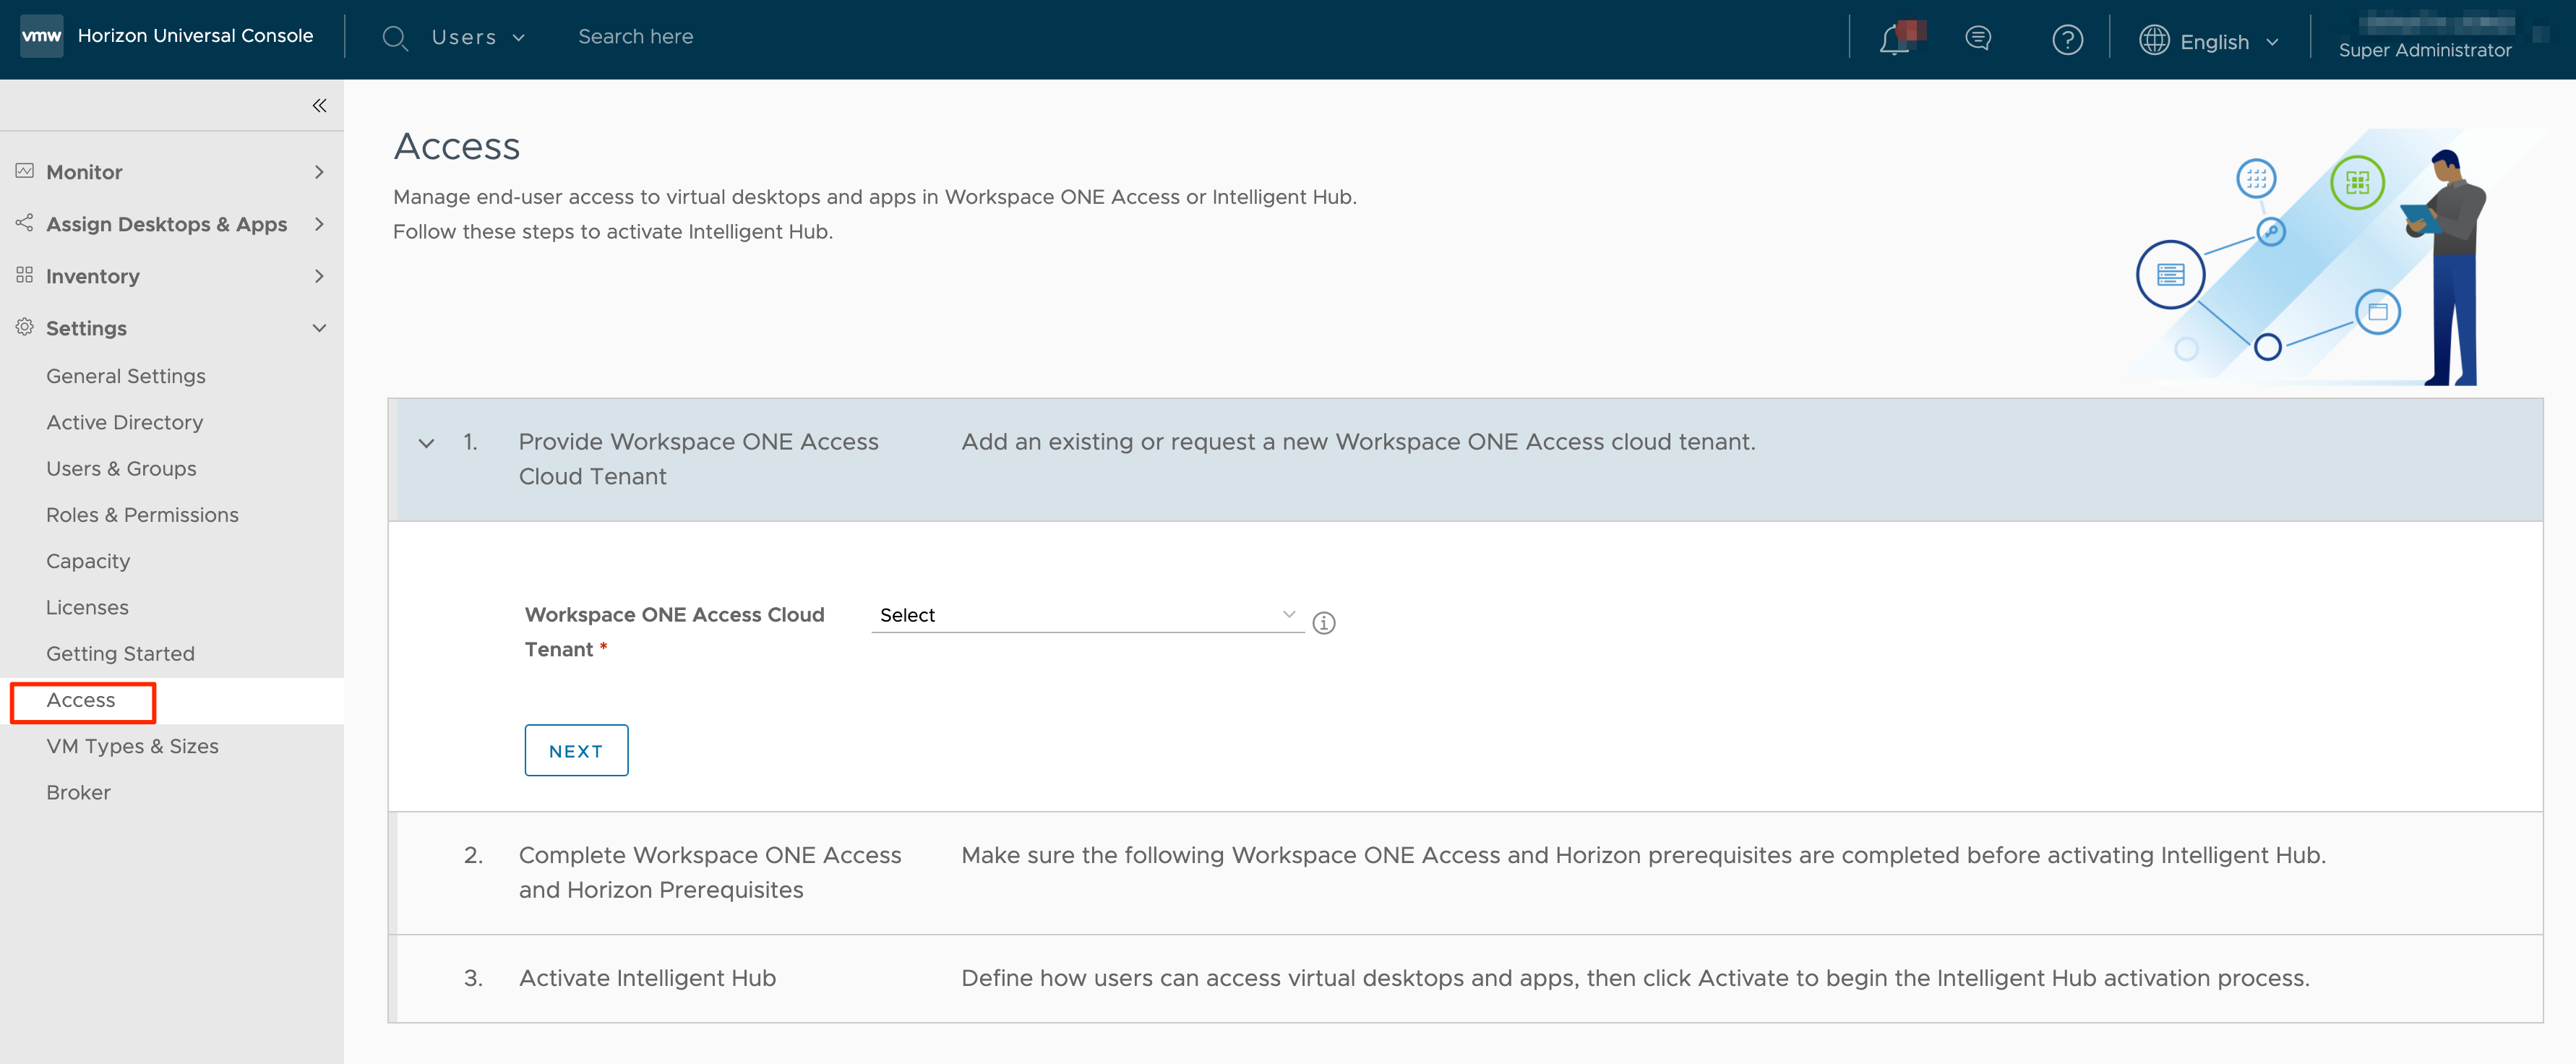
- Since we don’t have an existing tenant, select ” Request new cloud tenant ” and enter all the information required as per below screenshot
Select terms of service and hit NEXT
- After clicking on next you will be prompted with below screen, and you will receive a mail with tenant info to the mail id that was provided in above section
- In the email you will have connector activation token and a link to set the password for your newly created WS1 tenant
so please ahead and set the password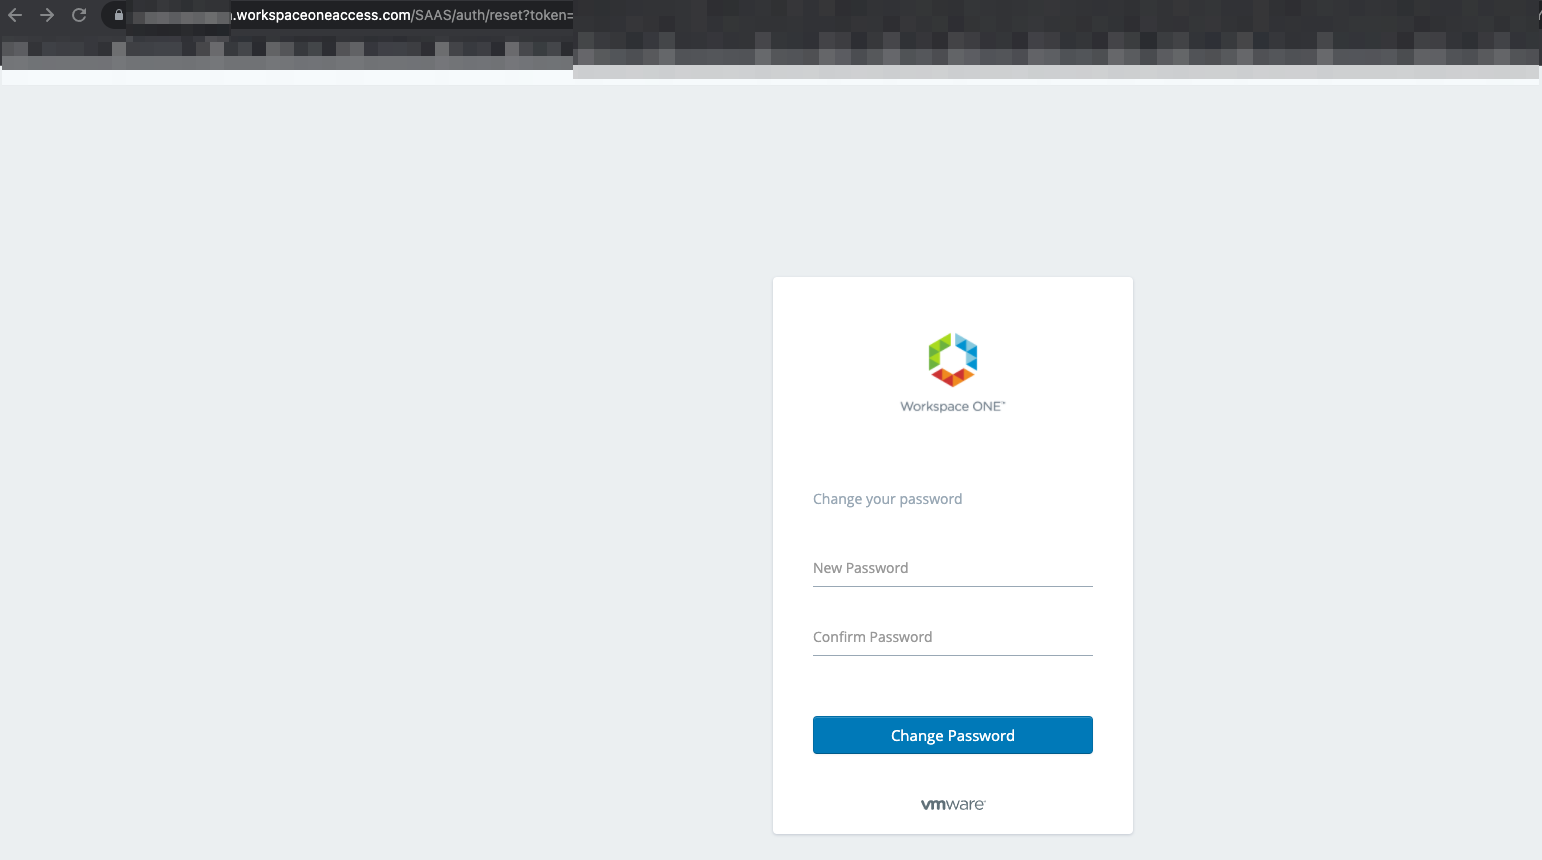
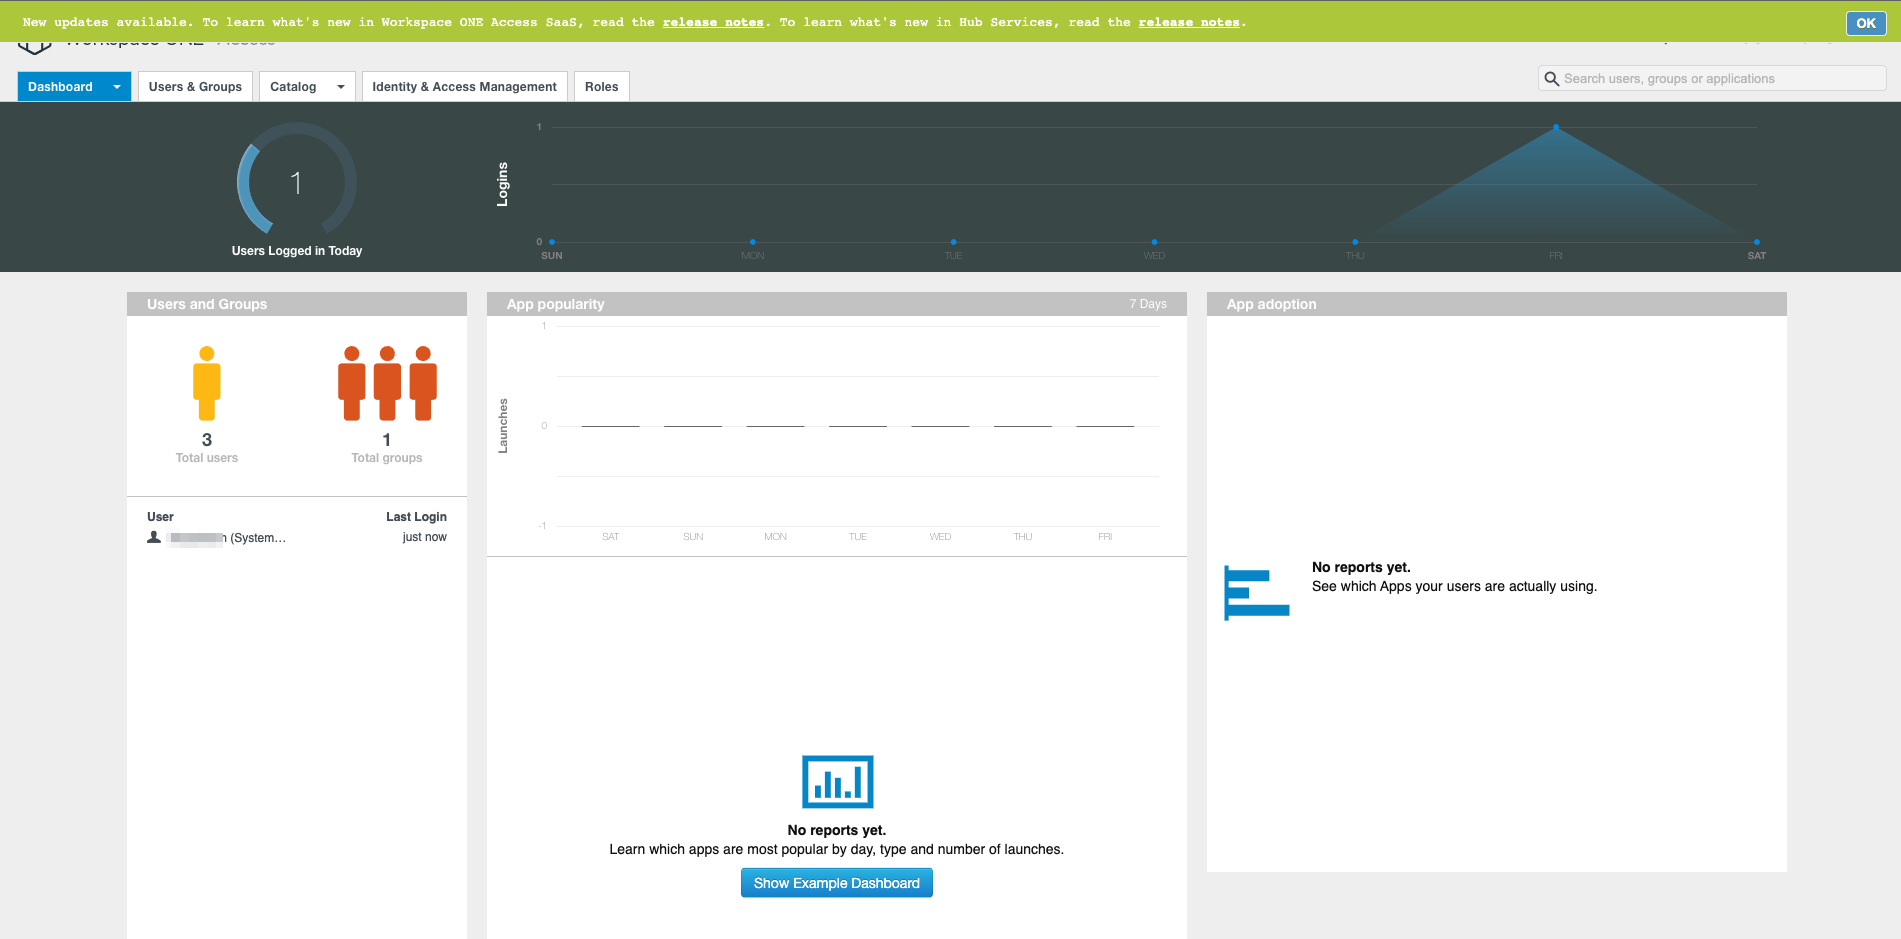
- Once the password is set, login to the portal with the username that was set when creating the tenant and password that set few minutes ago to confirm access to the WS1
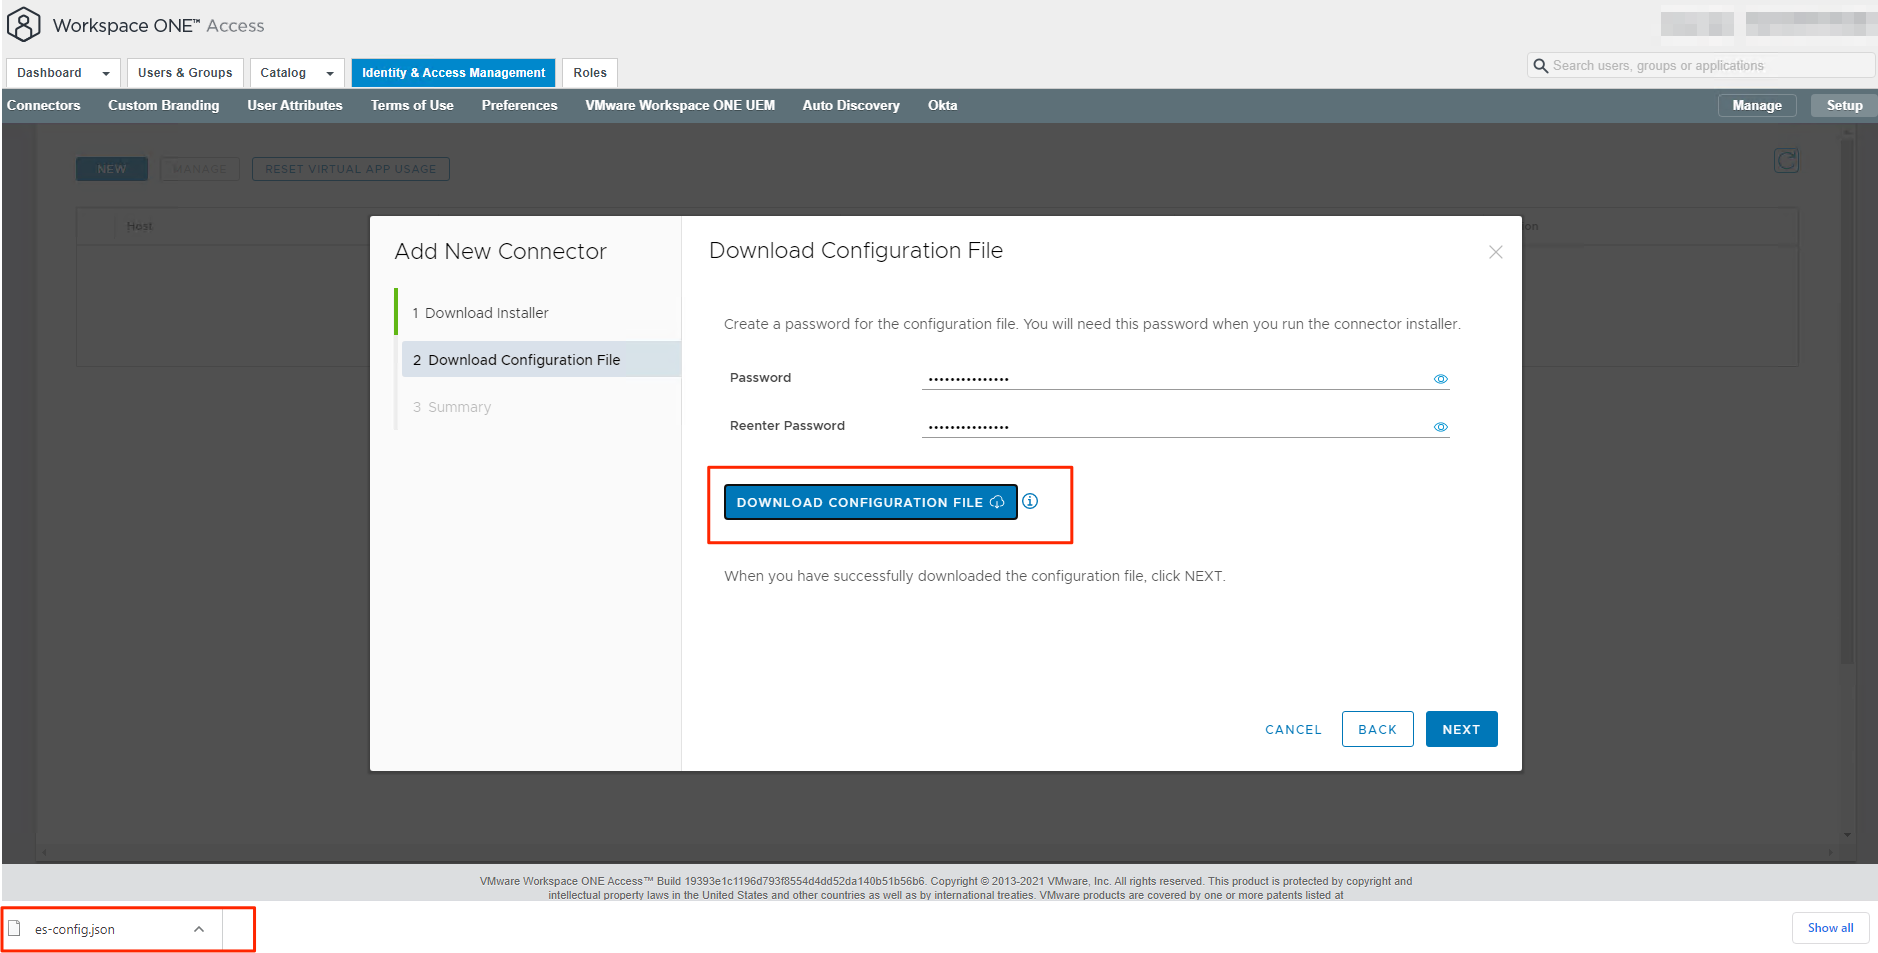
Workspace ONE configuration file download
Before install, the connector software lets download the configuration file first
- Login to Workspace ONE console using the username and password received from above section
- From top right click on the user and select Workspace one administration console
- Click on Identity & Access Management and click on Setup

- Click on Connectors

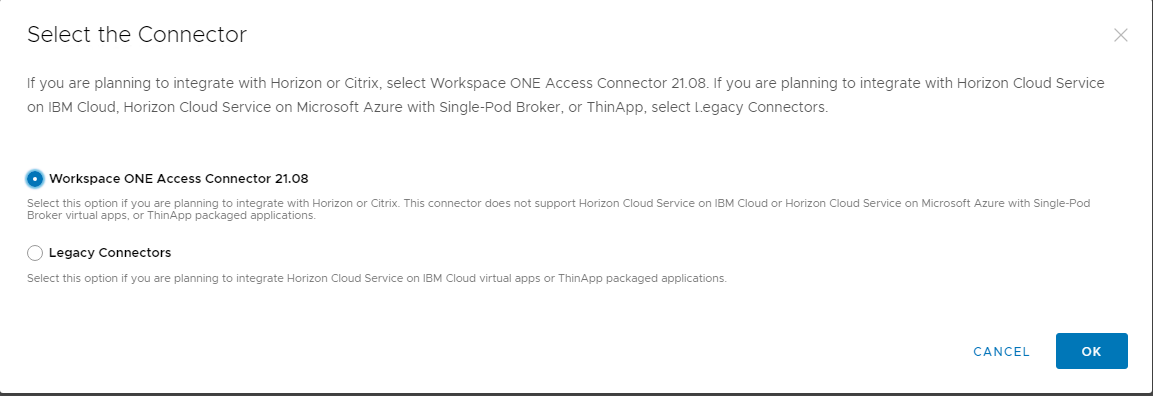
- Click on NEW then select the Workspace ONE Access connector then click OK
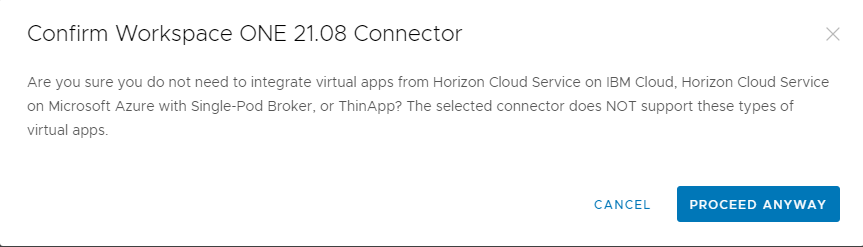
- Click on PROCEED ANYWAY
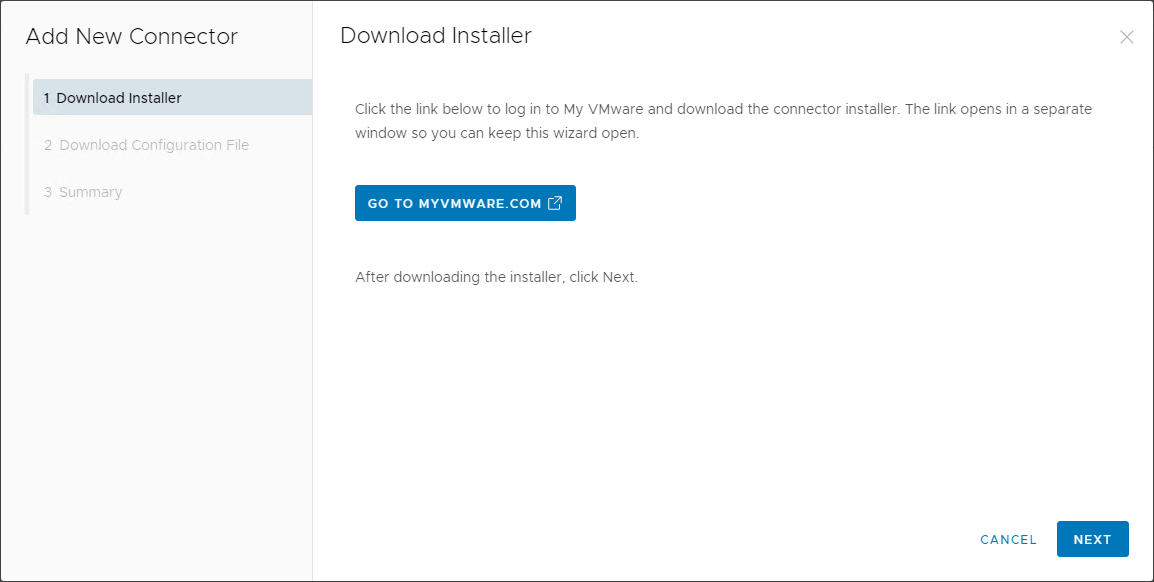
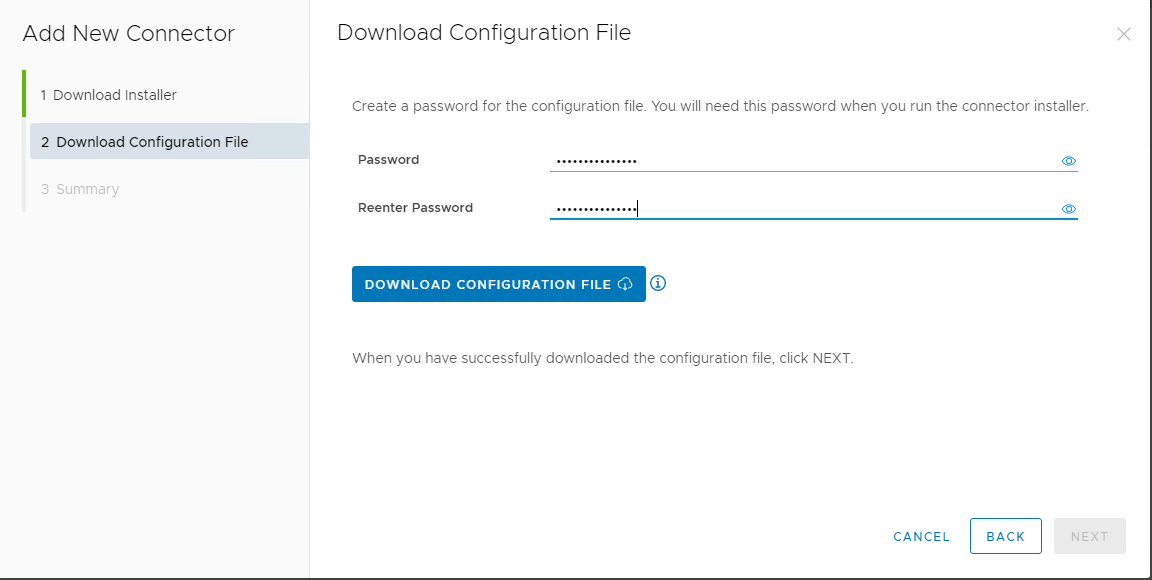
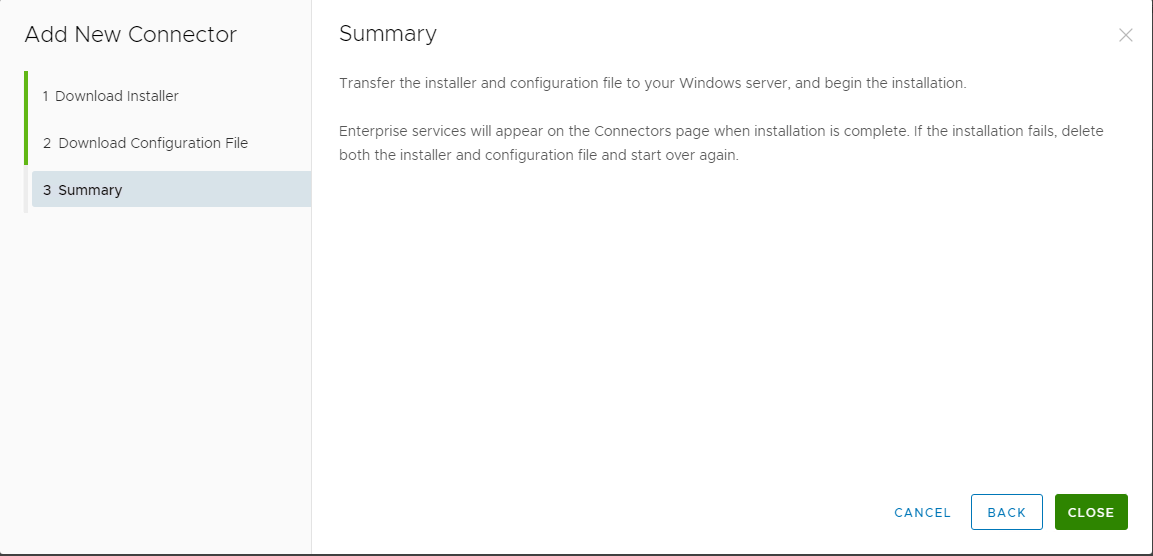
- Download the configuration file by following below steps
Workspace ONE connector installation & Configuration
Download
Download the appropriate(newer) version of the Workspace One connector from the URL provided in the mail 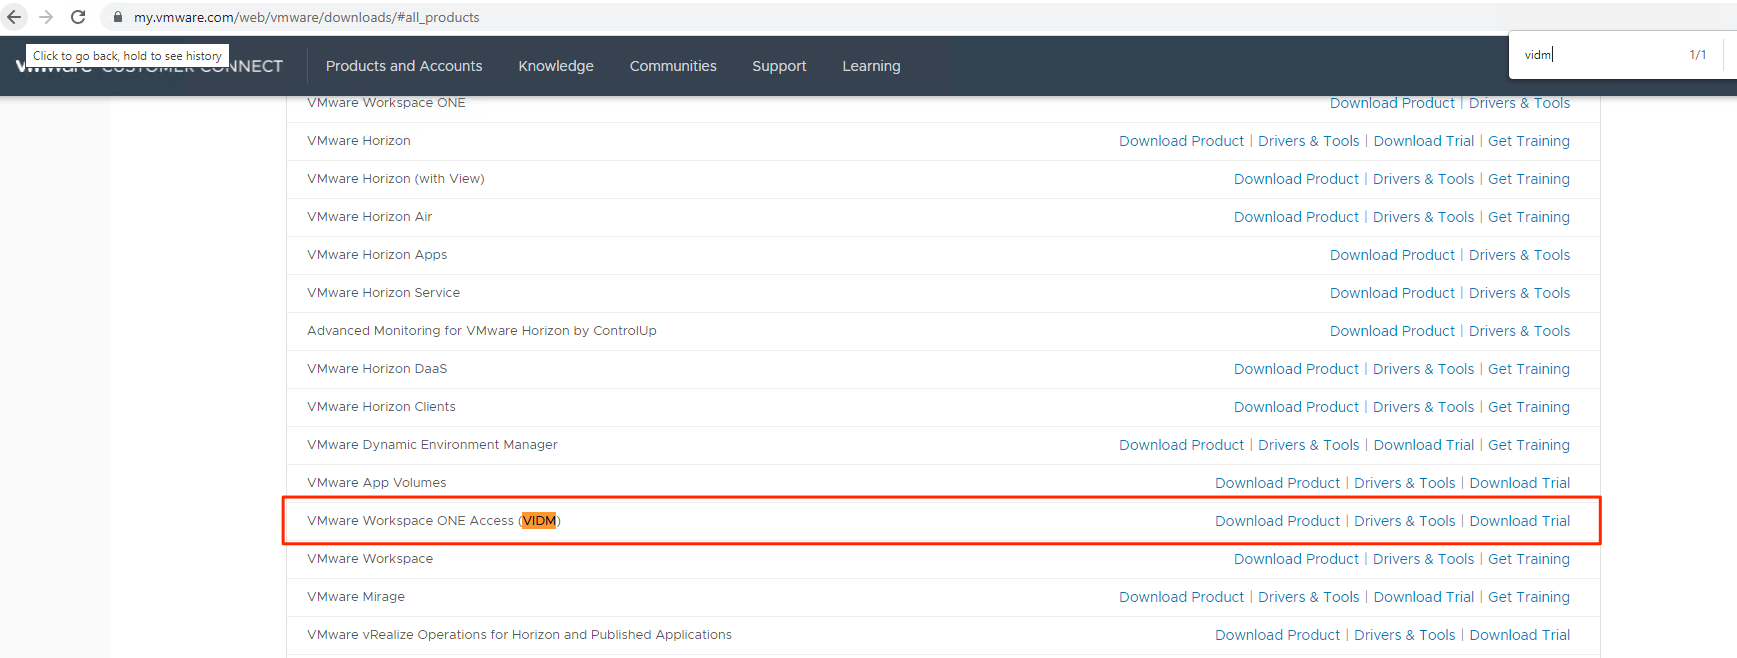


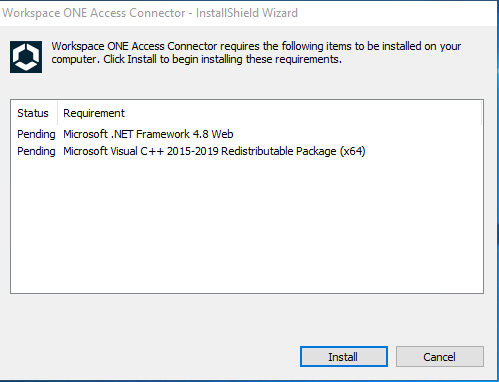
Install the Connector
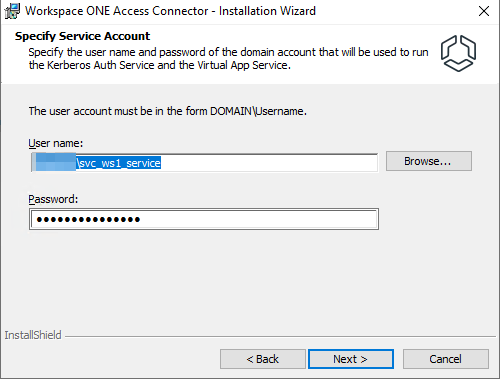
Please have the service account username, password & config file handy before starting the installation
Also make sure enough CPU’s & RAM is allocated to the virtual machine else directory service won’t start, more info can be found here
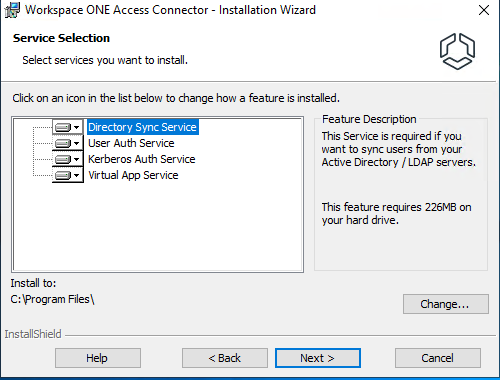
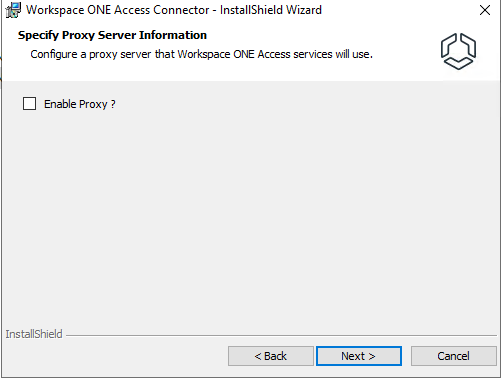
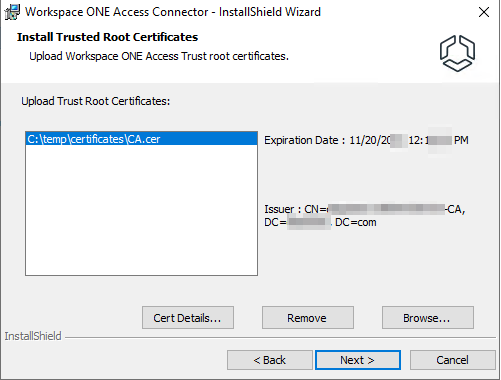
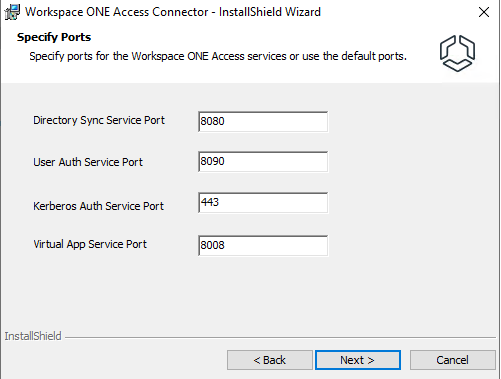
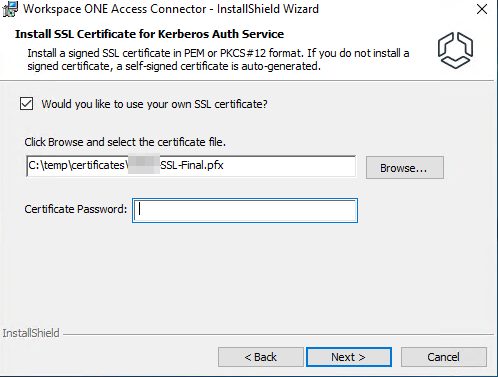
For this installation, I have chosen custom install to upload root & SSL certificates (how to create certs are documented here)
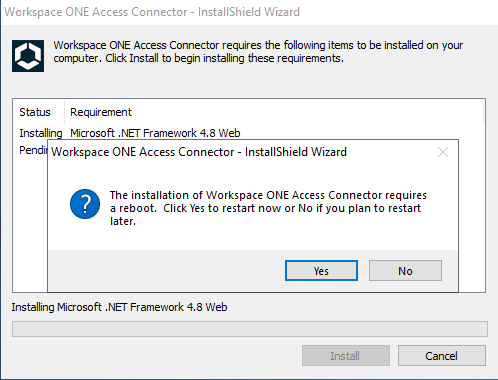
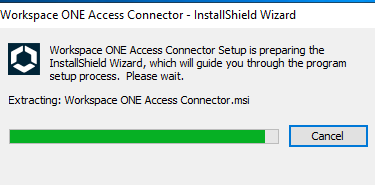
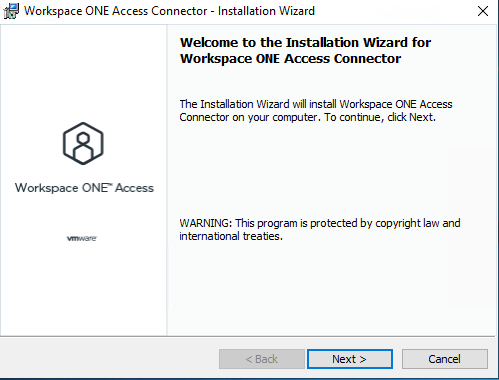
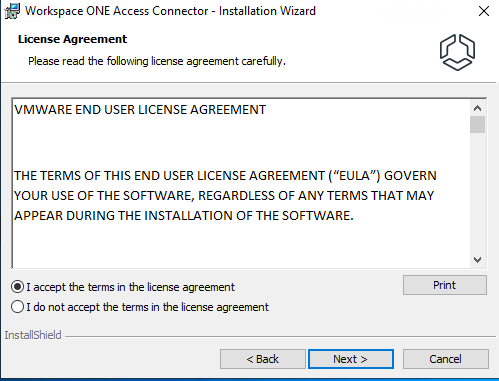
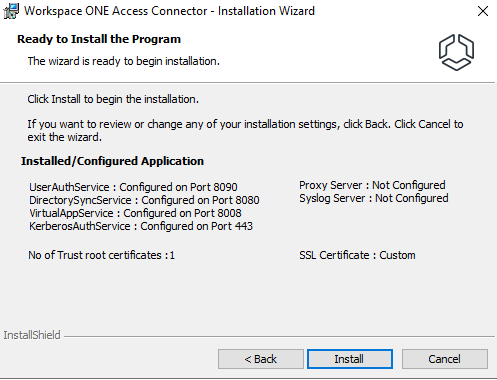
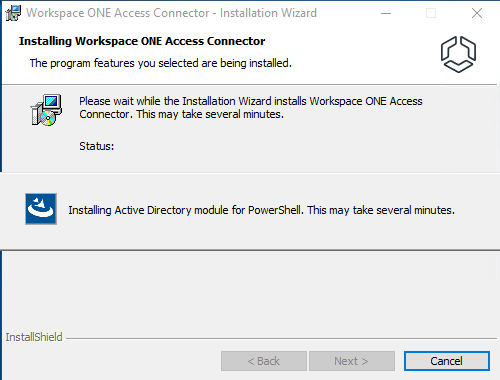
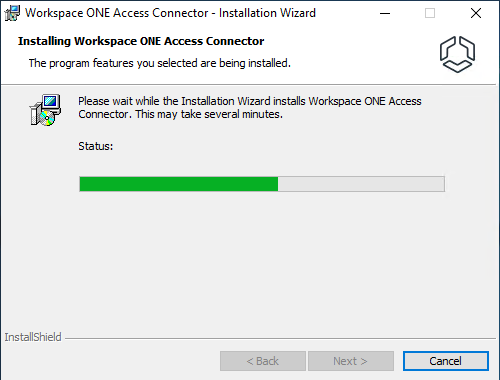
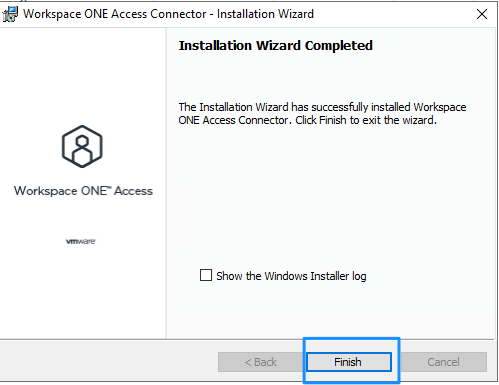
Here is the bunch of screenshots in order shows the connector install


Now we can see the connector Health info on the Workspace ONE administration console
Identity & Access Management –> Setup 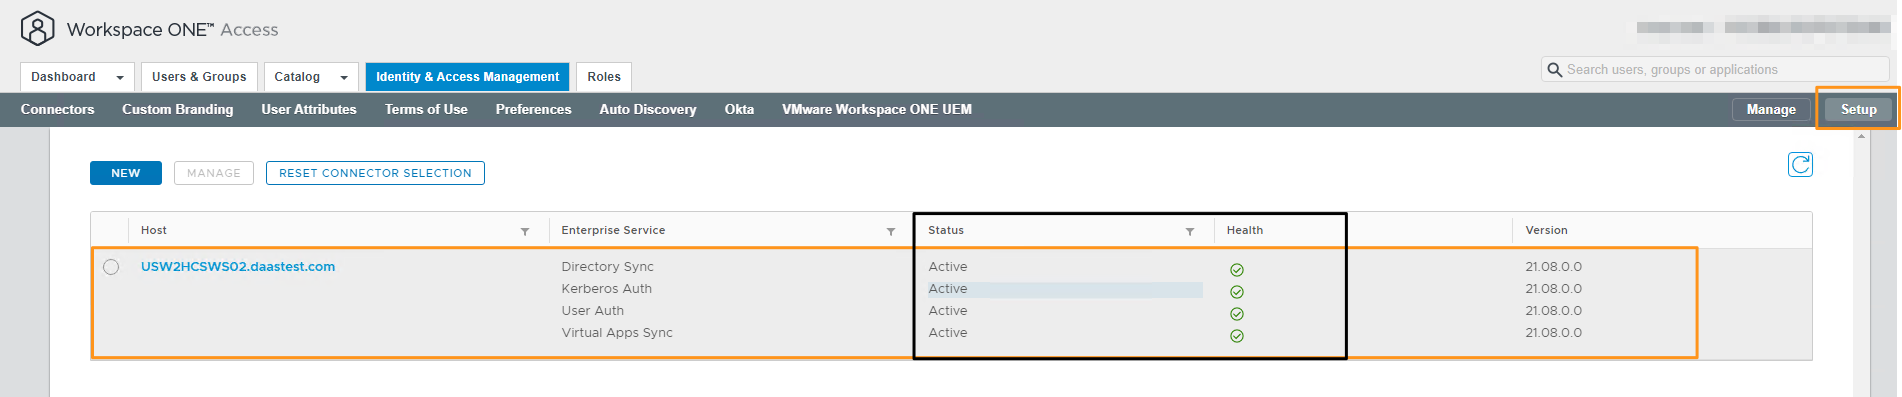
Directory Configuration
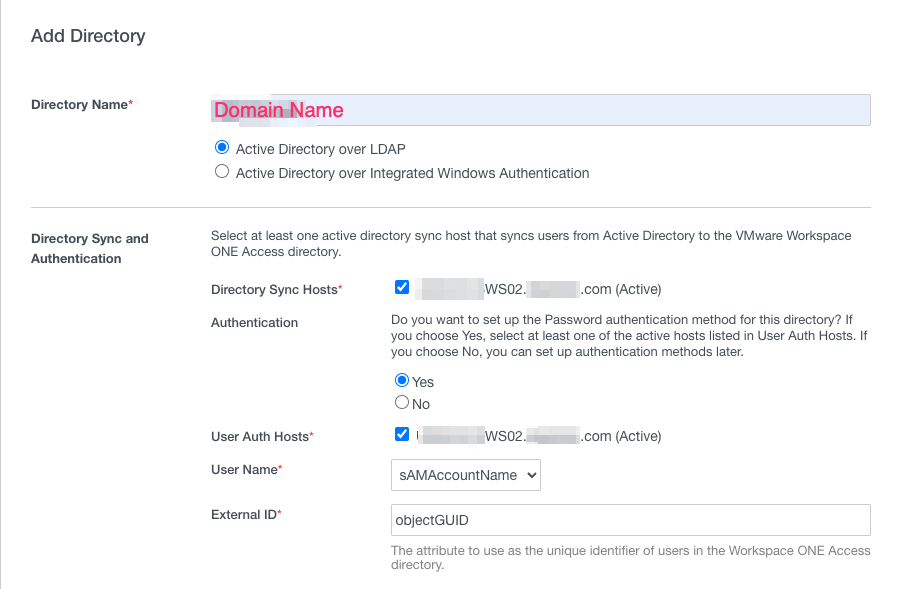
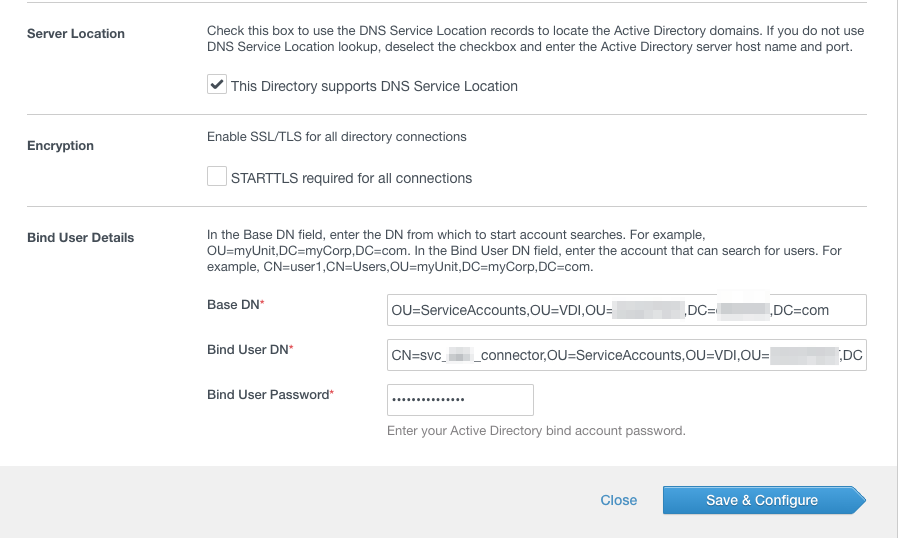
- Navigate to Identity & Access Management –> Manage –> Add Directory –> Active Directory

- Enter the required info as shown below then click on Save & Configure
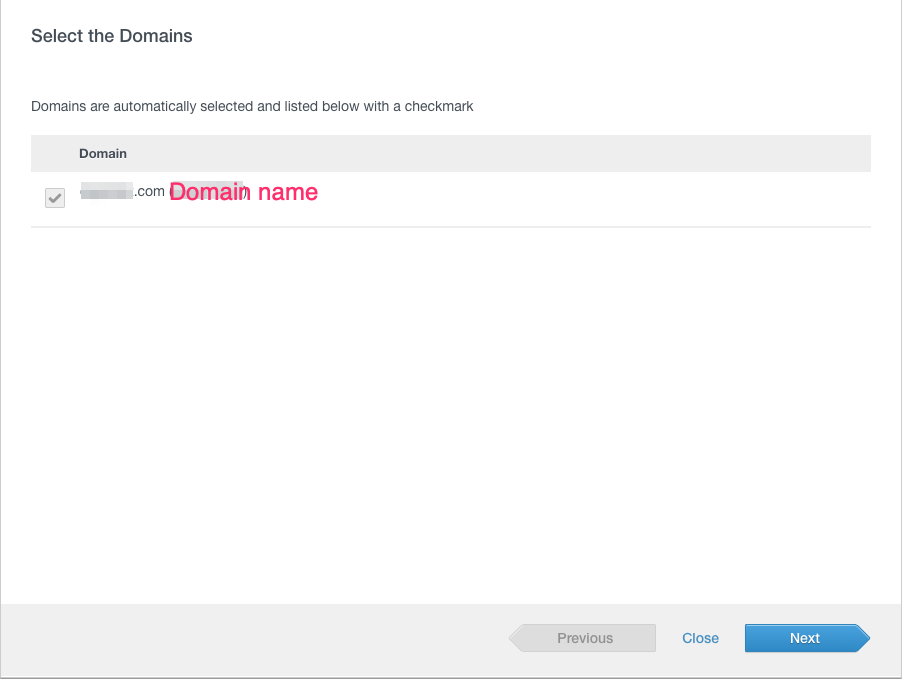
- In the Select the Domains page, by default the domain is already selected hence click on Next
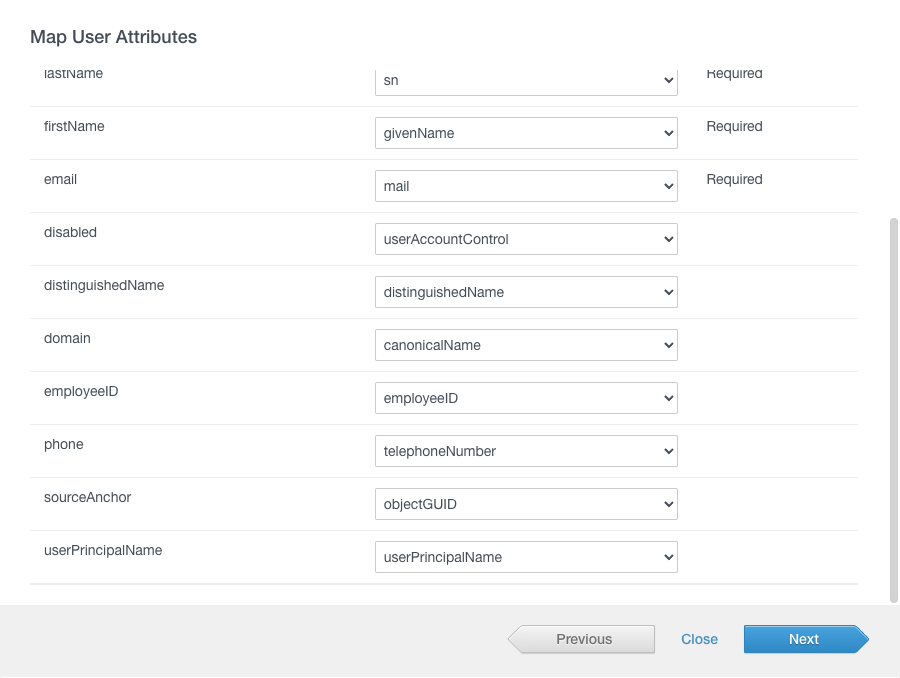
- Let’s leave the defaults in the Map user Attributes page
- Provide the groups details who needs access to horizon entitlements
I have selected only 2 groups that requires access by clicking on Select Groups and click Next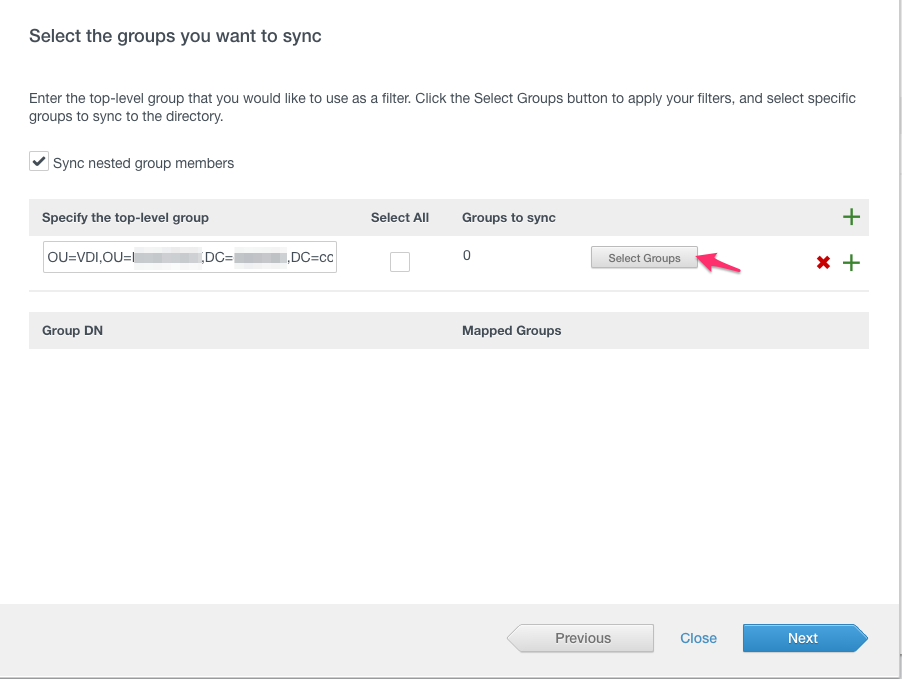

- Enter the User DN’s to sync and click Next
for this demo I have added groups DN where users are part of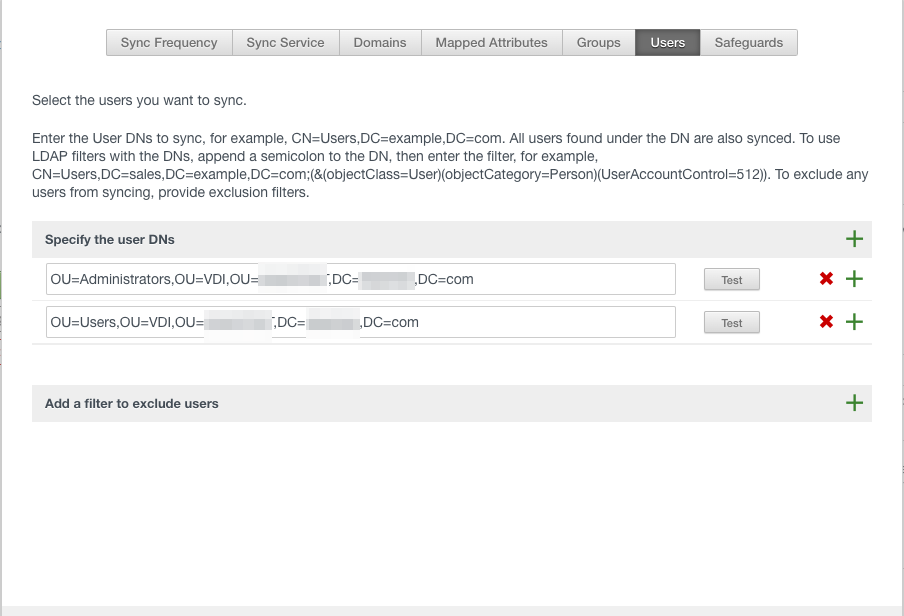
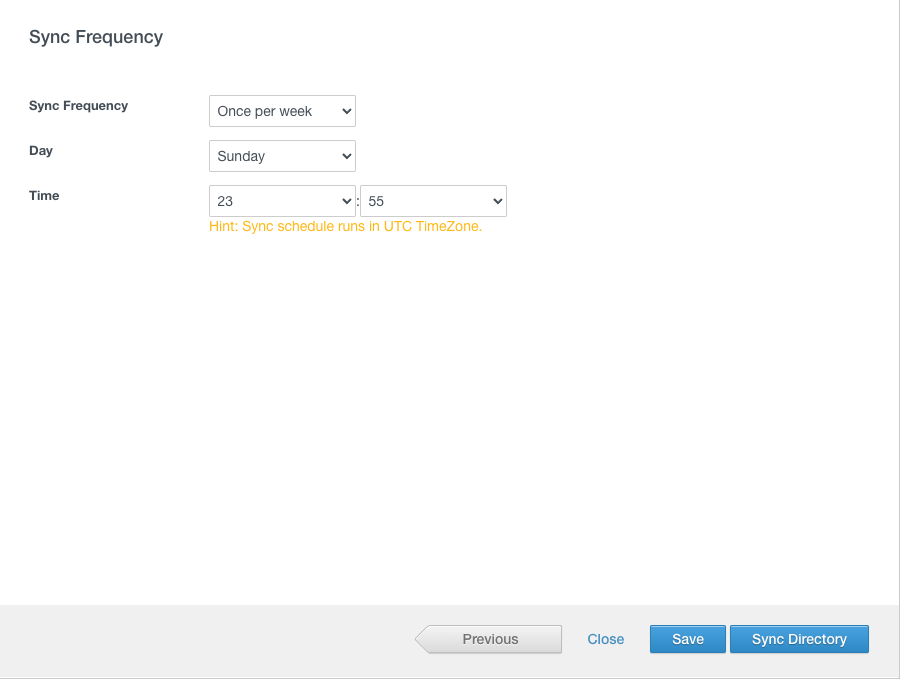
- Select the sync frequency and click on Save / Sync Directory
- Now you will see that new directory was added, and sync started.
By clicking on the Sync log, we can see the current sync status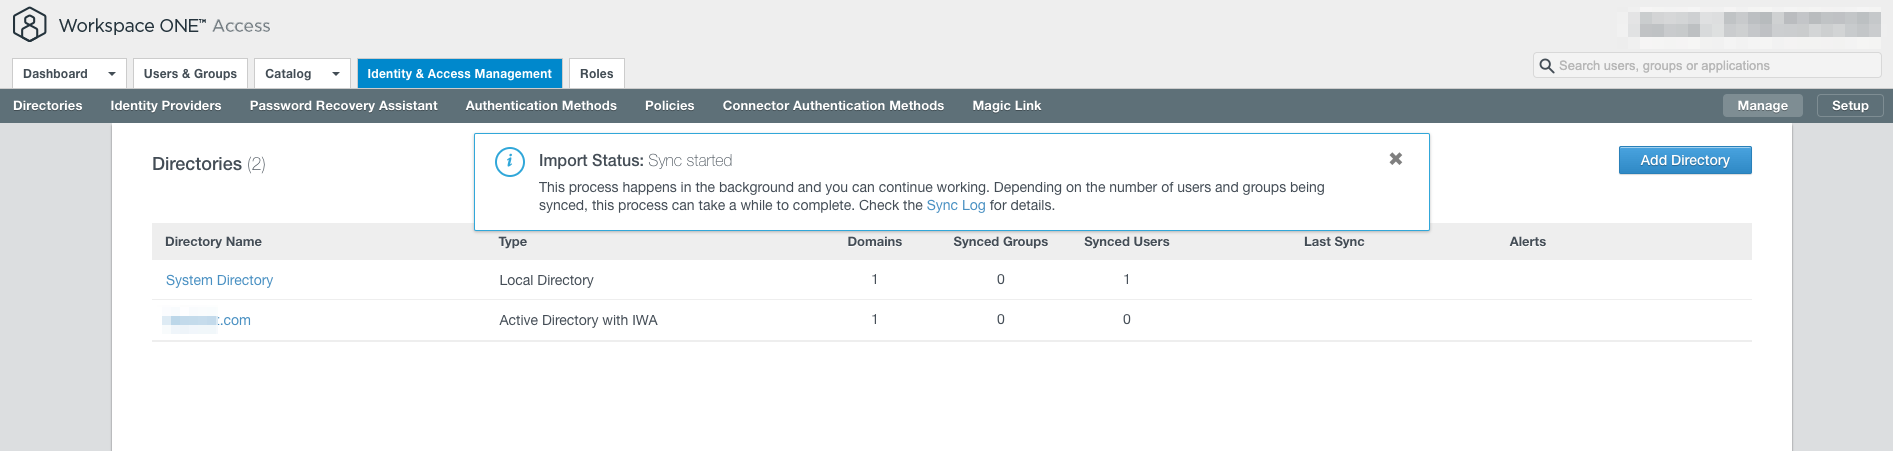
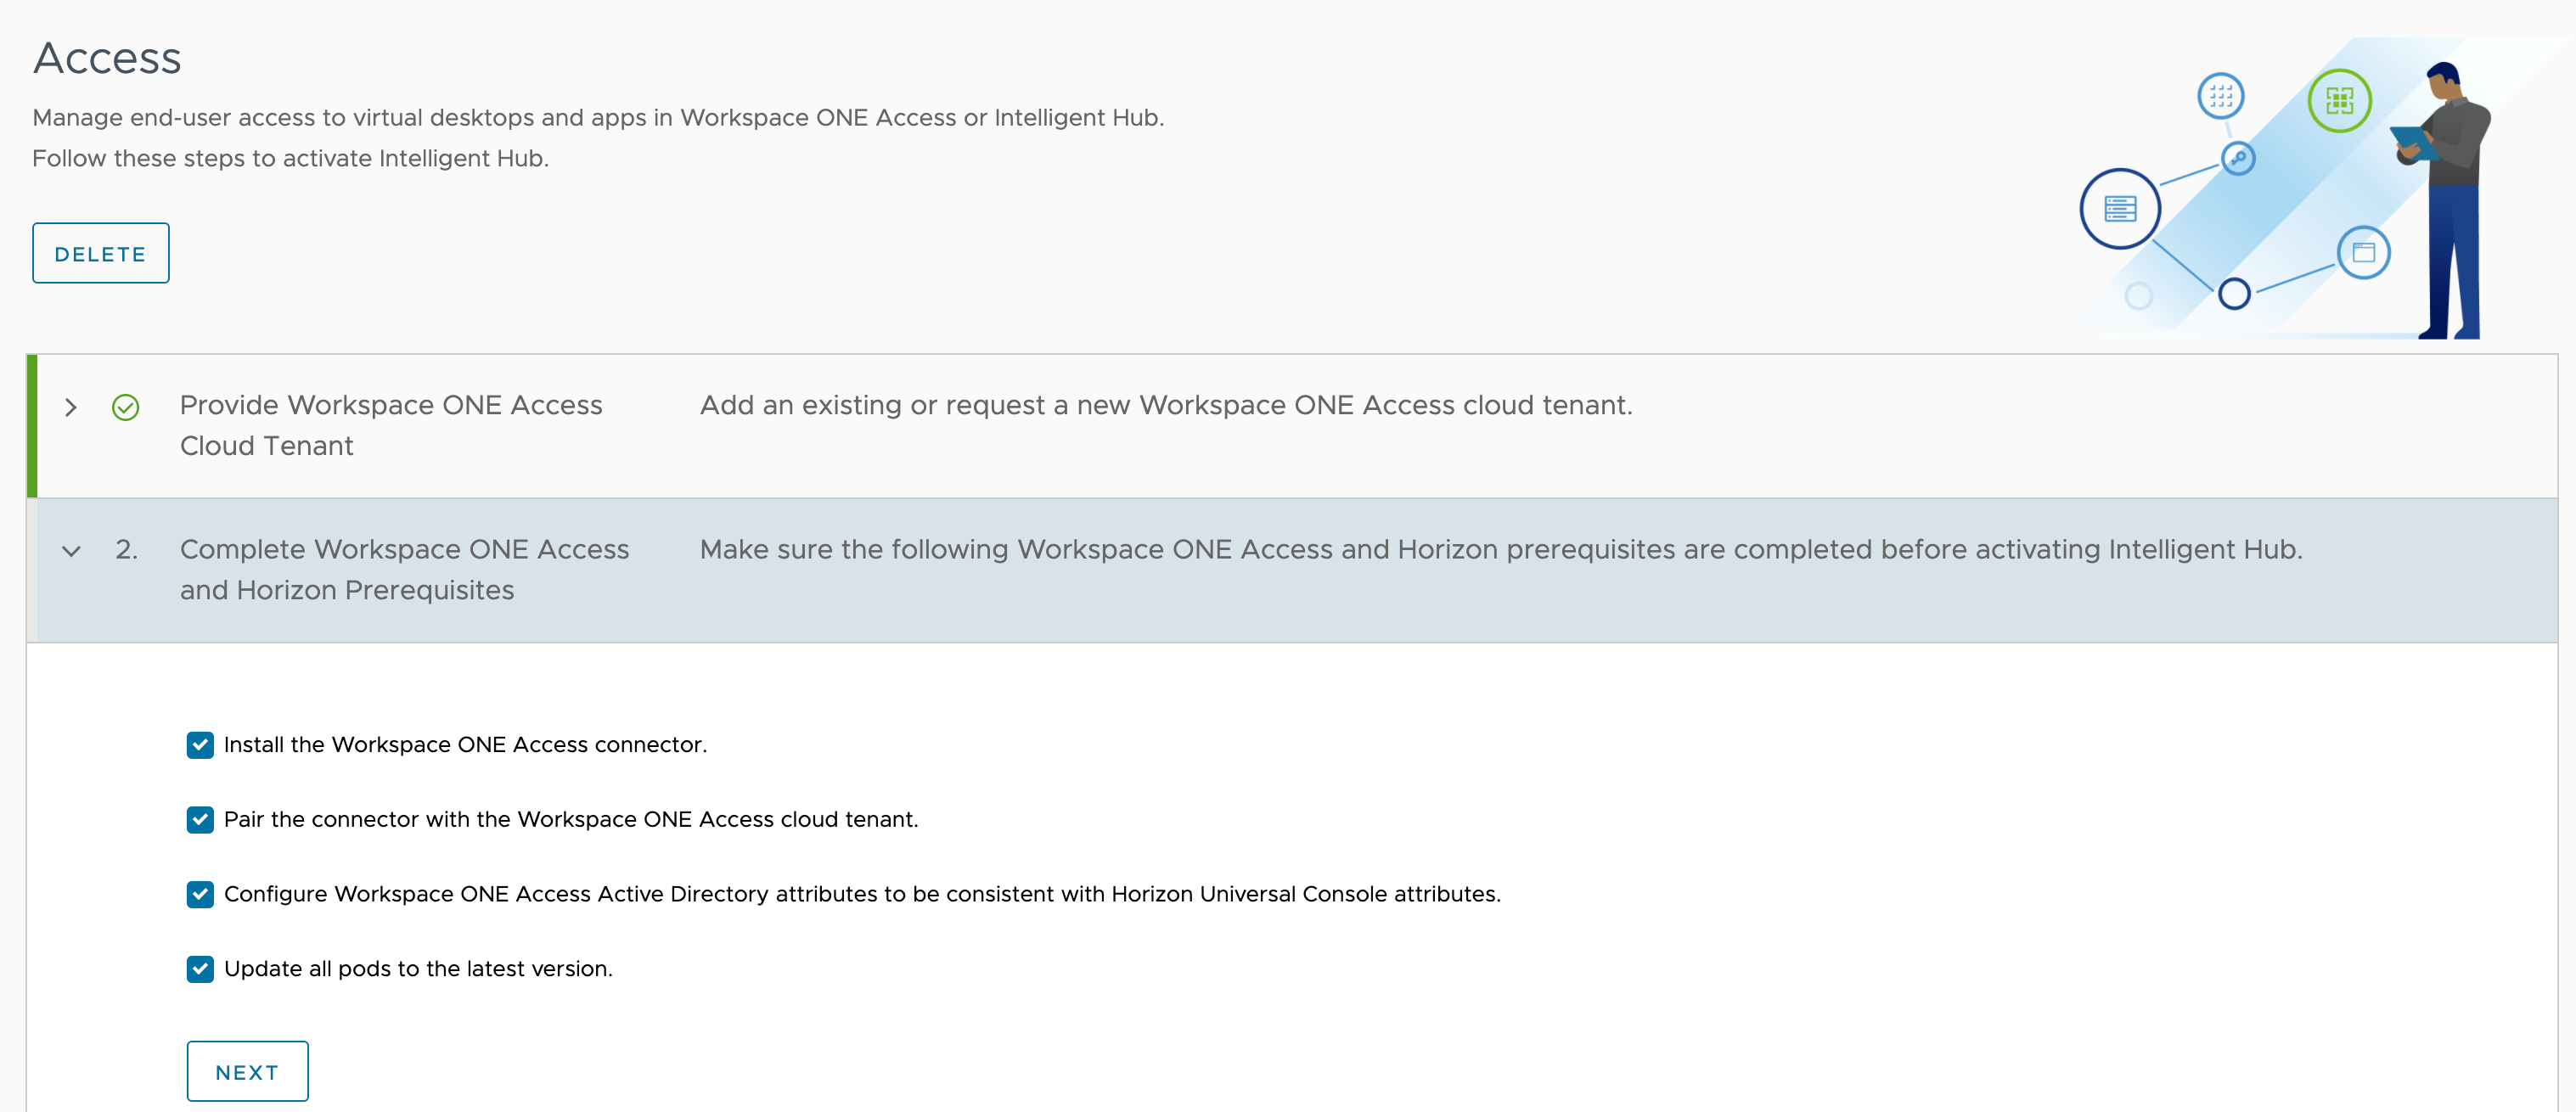
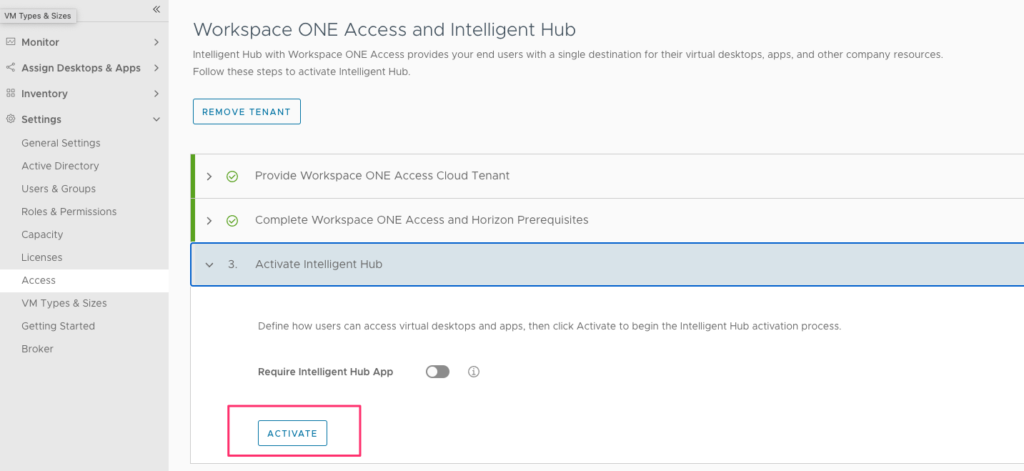
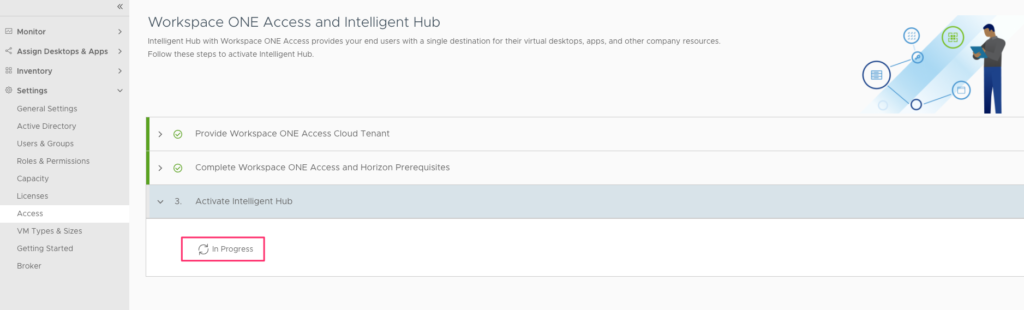
Complete Workspace ONE config on Horizon admin console
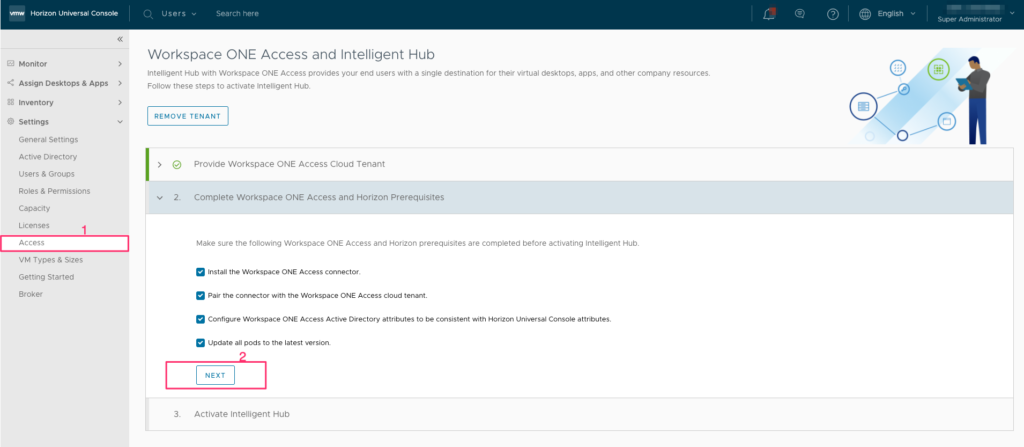
Login back to Horizon admin console and click on Access to complete the integration
At this step even if we login to Workspace ONE, we won’t be able to see the Apps because the required User attributes aren’t configured yet
Configure User Attributes to complete Horizon Cloud Integration
We must configure user attributes as mentioned in this VMware article
Login back to Workspace ONE administration console
Navigate to Identity & Access Management –> Setup –> User Attributes
Add 3 of the attributes mentioned in the article (Actually 4 are mentioned but the userPrincipalName is already an exist attribute)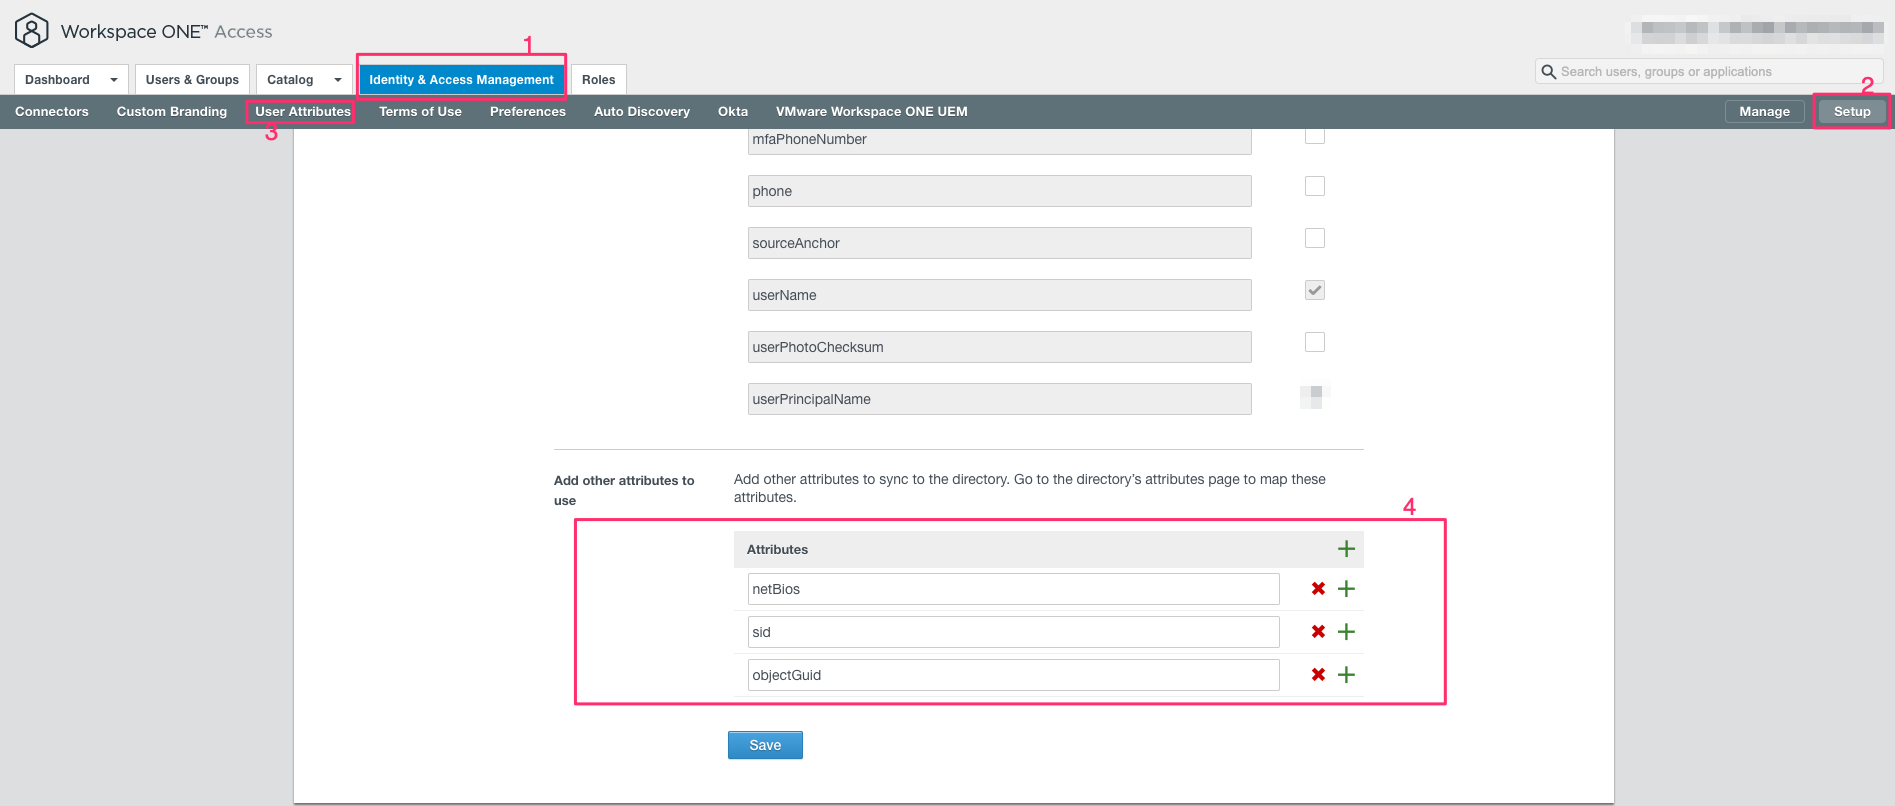
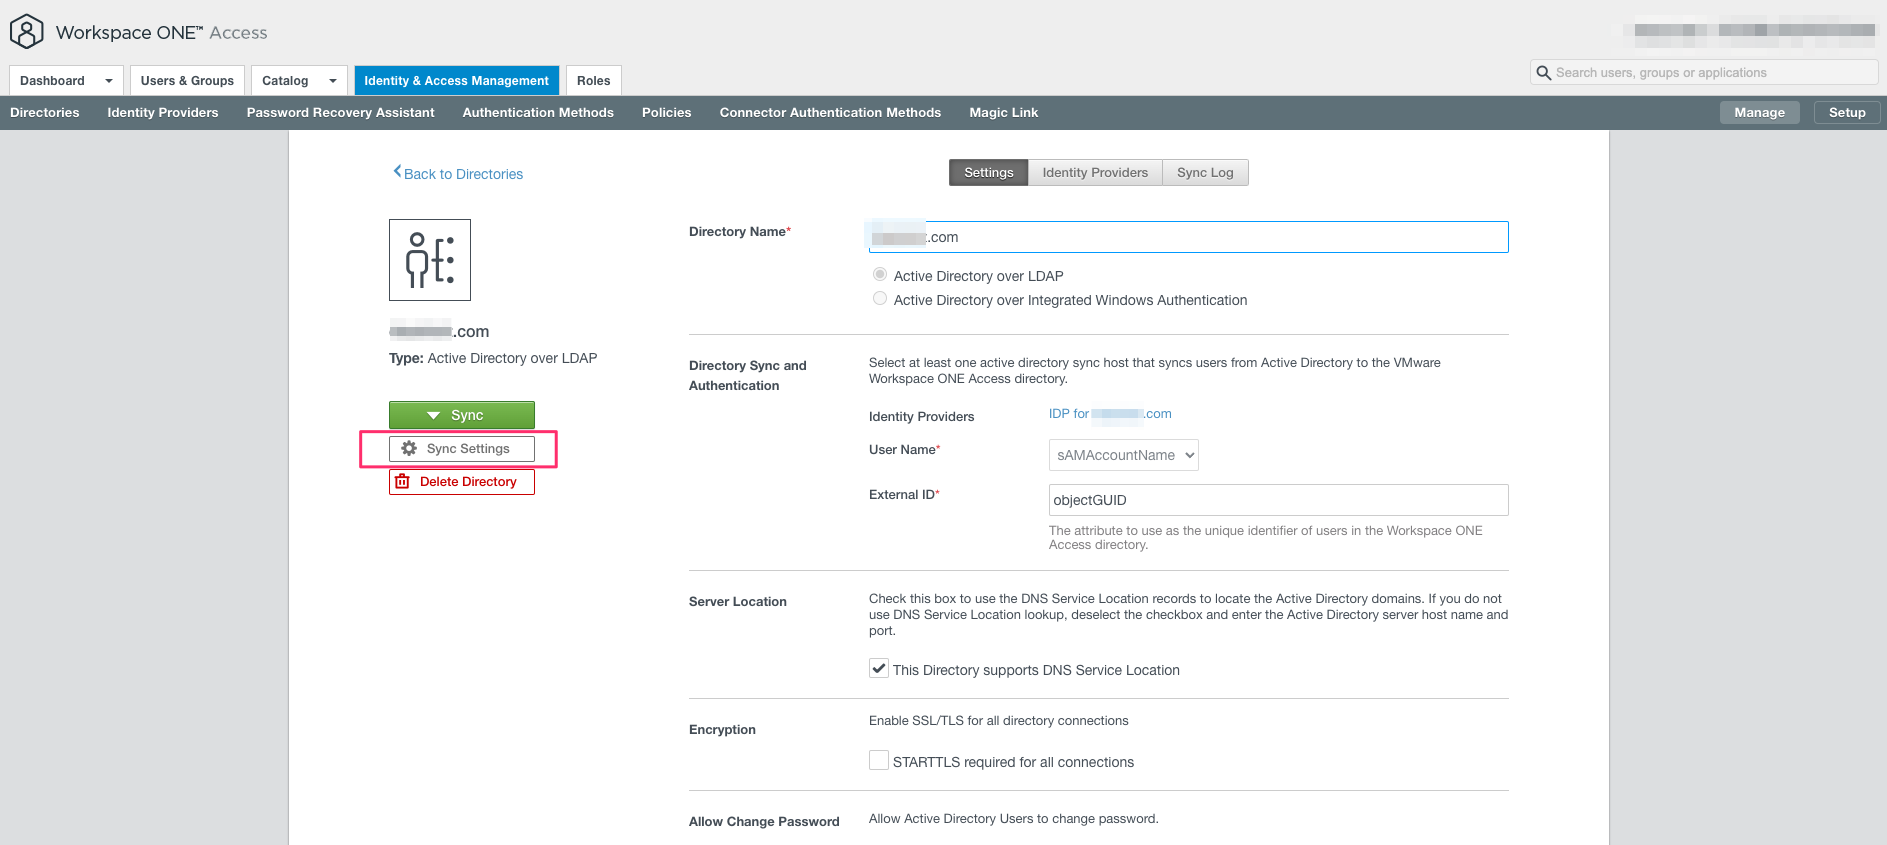
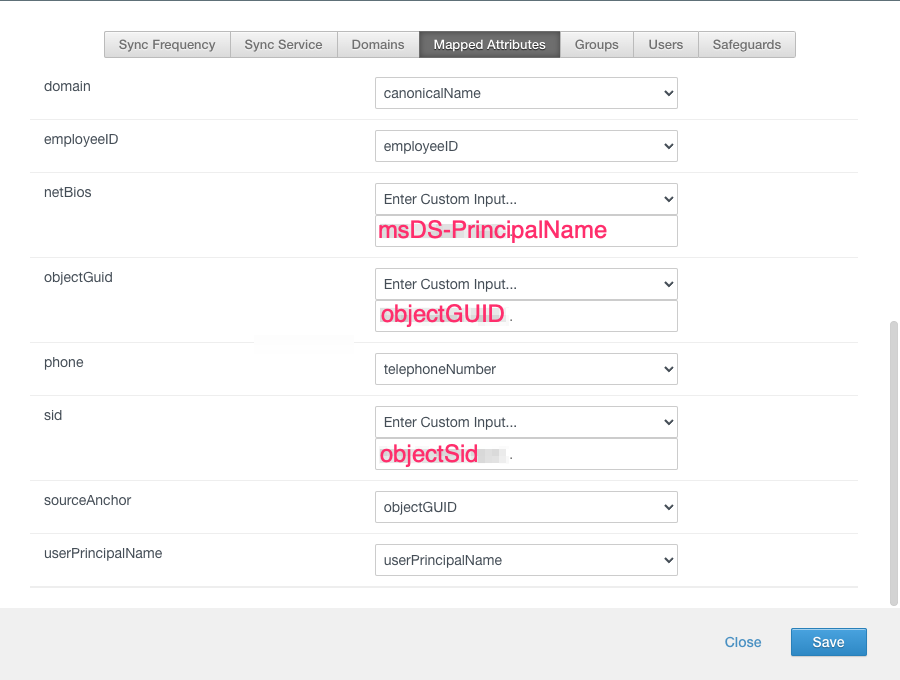
Now we must map the above attributes with Active Directory attributes, to complete this follow the below steps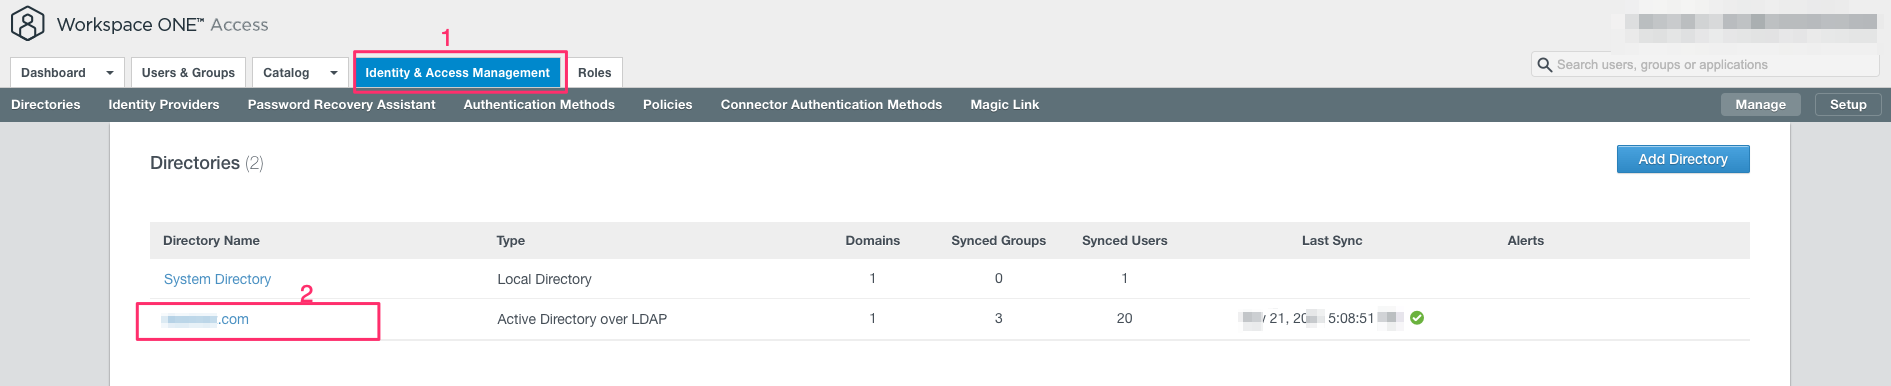
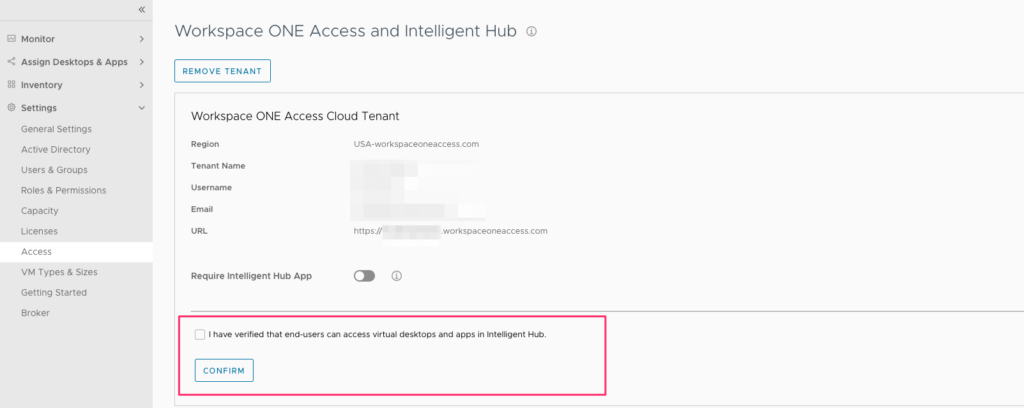
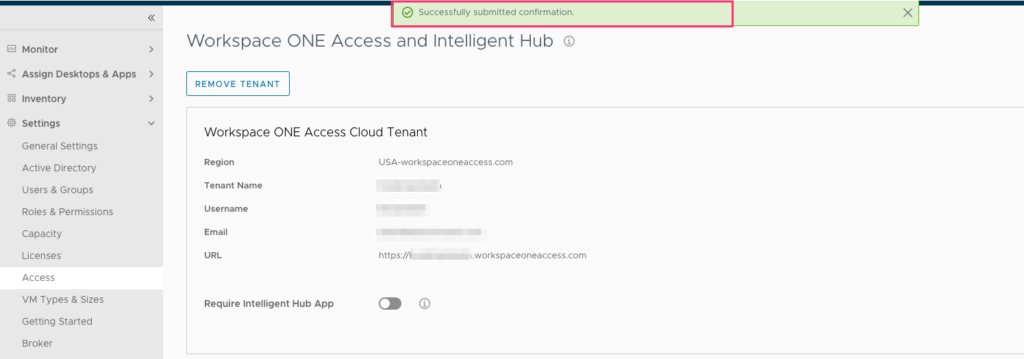
By now the configuration is complete and we can see the apps in the Workspace ONE portal
Login to the Workspace ONE URL that we have configured at the beginning, or we can see it on the Horizon admin console –> Access –> URL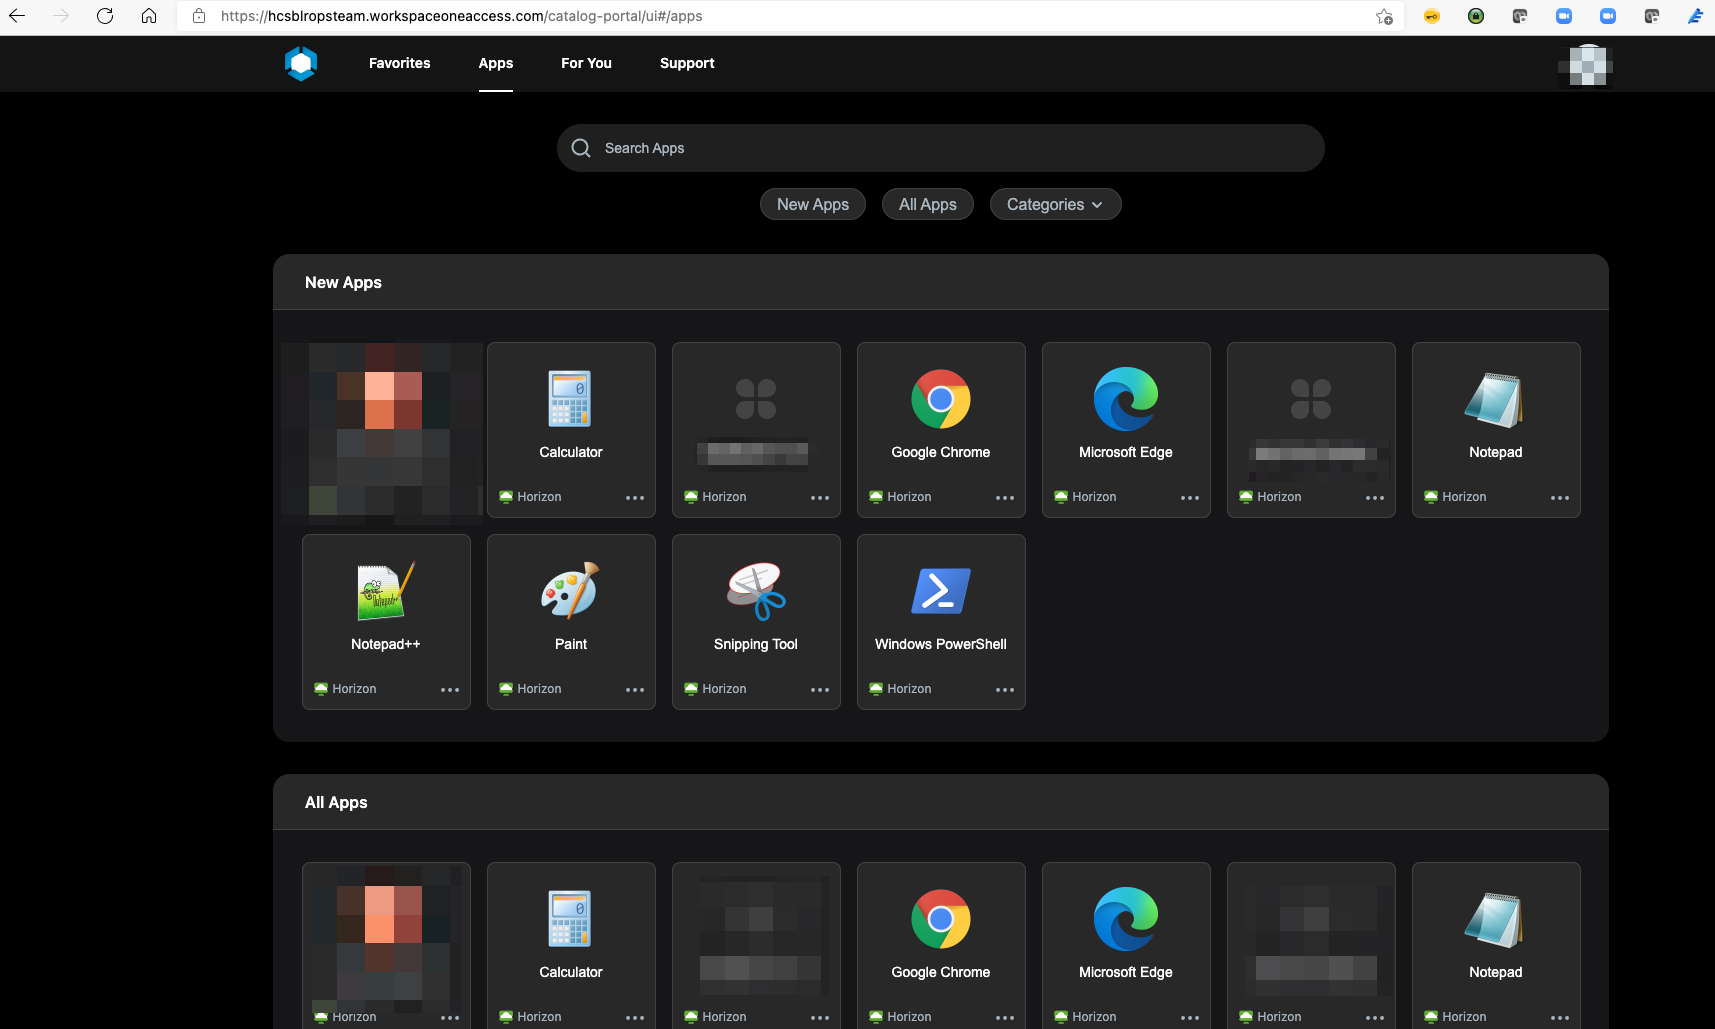
![Horizon Cloud on Azure – Introduction [Part-1]](https://thecloudwiki.com/wp-content/uploads/2021/04/HZC-intro-feature-image-1024x624.png)
![Horizon Cloud on Azure – POD Deployment & Troubleshooting [Part-2]](https://thecloudwiki.com/wp-content/uploads/2021/04/HZC-POD-deployment-feature-image-1024x636.png)