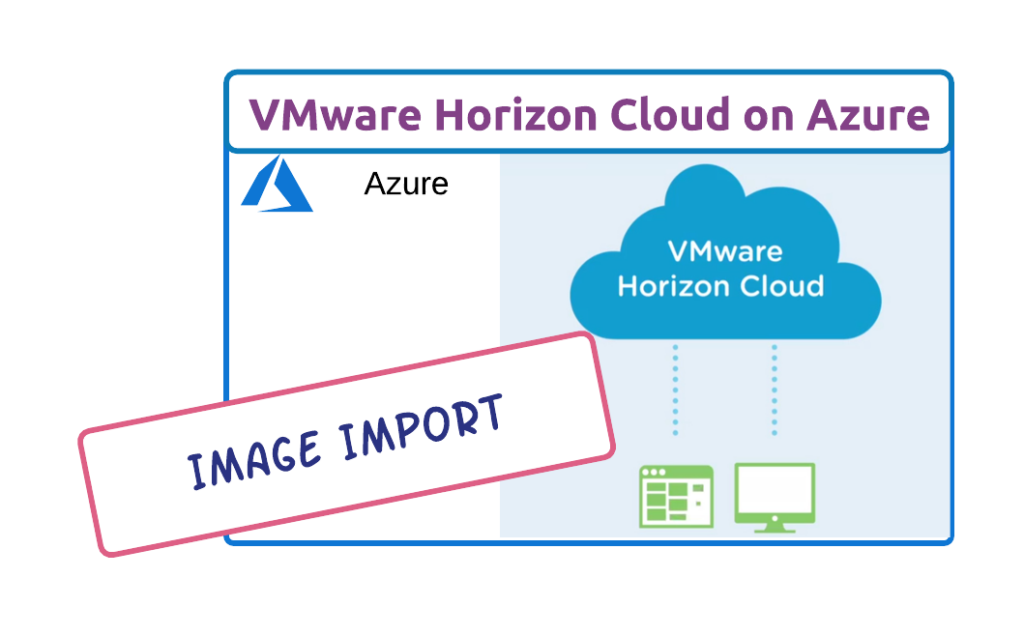
After Brokering selection, the next work is to create an image
Creating an image consists of 2 workflows
1 –> Import VM
2 –> Publish the Imported VM
Import VM:
- Horizon Admin console –> Inventory –> Imported VMs
- Click on “IMPORT”
- Select “Location” & “POD” Names
- Select the OS [ By default we see RDSH i.e server images, for VDI images at sometimes we must reach VMware to add those capabilities]
- Leave the Default options [ For Dedicated & floating images we don’t need the Imported VM to join the domain]
- Enter Admin username & Credentials for that VM
- Enter the Name of the VM
- Leave the Advanced Options as Default
- Click on “IMPORT”
- Wait till the image is ready for publishing [ Once can see Green round below the Status]
- Click on “MORE” and “Publish to Images”
- Once the VM is successfully published then the image is Available in the “Images” [ Horizon admin console –> Inventory –> Images] section
Common issues while importing VM’s:
- Check enough quota allocated for the subscription
- Check the Azure guest agent status of the imported VM if it’s not successfully completed
- Check for any installation failures from the windows events
- Once the image is imported, we can see the agent’s installation is going from the Admin console, below the “Agent Status” of Imported VMs. Agent installation may fail due to a guest issue
- Check the installer logs from C:/programdata/VMware folder
- Check if any failures with installing extensions, one can see this in the Activity Log of the Azure console
- Check all the required ports are enabled, specifically the below screenshot.
VMware public documentation clearly states that the below are to be allowed for a successful import image process [ https://docs.vmware.com/en/VMware-Horizon-Cloud-Service/services/hzncloudmsazure.getstarted15/GUID-E3B769E7-BB17-40FD-9CAB-111B348C767E.html ]

![Horizon Cloud on Azure – Introduction [Part-1]](https://thecloudwiki.com/wp-content/uploads/2021/04/HZC-intro-feature-image-1024x624.png)
![Horizon Cloud on Azure – POD Deployment & Troubleshooting [Part-2]](https://thecloudwiki.com/wp-content/uploads/2021/04/HZC-POD-deployment-feature-image-1024x636.png)