In this article let’s discuss how can we clone or duplicate a virtual machine in Azure
We will achieve this using 3 steps
- Create a Snapshot
- Create a Managed disk from Snapshot
- Create a VM from Managed disk
Table of Contents
Create a Snapshot for an existing VM
- Login to Azure Portal
- Click on the Resource Groups from the left side of the blade
- Select the Resource Group of the VM that we need to create a snapshot

- Click on the Disk name as shown in above screenshot
so that you will be presented with below
- Click on Create snapshot

- On the next blade, Enter the snapshot name in Instance details section
Go with defaults in next screens and in Review page click on Create to snapshot creation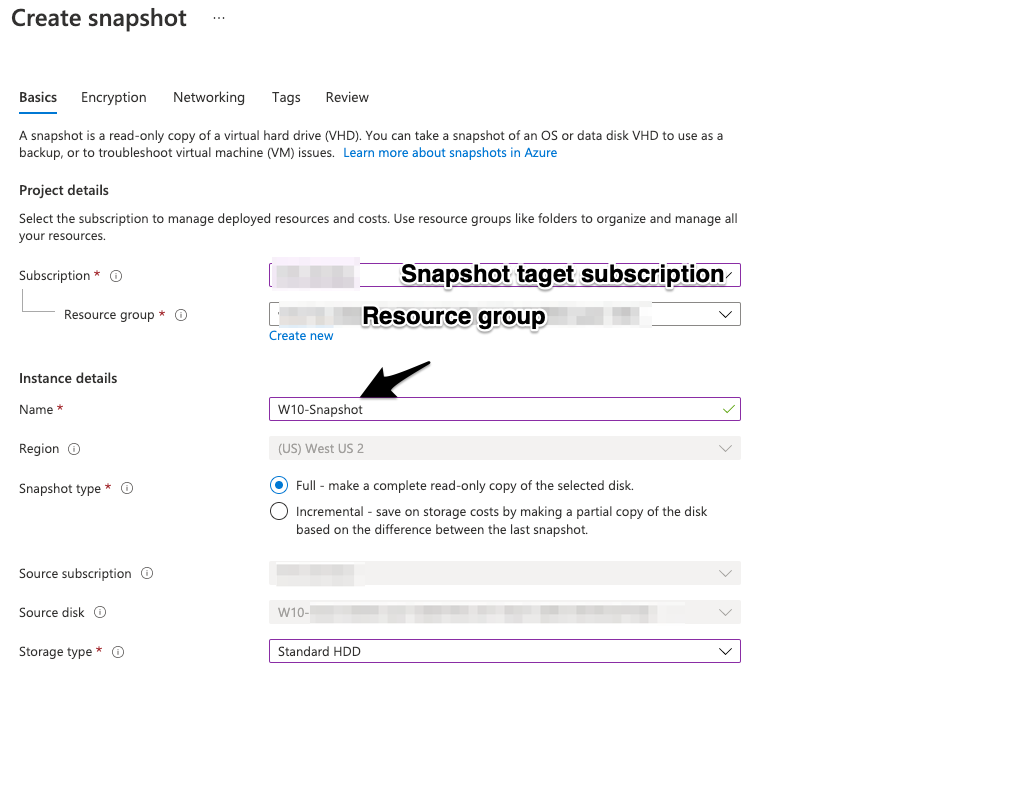

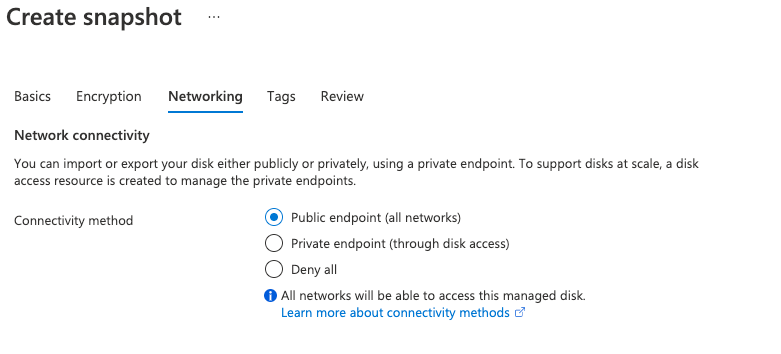

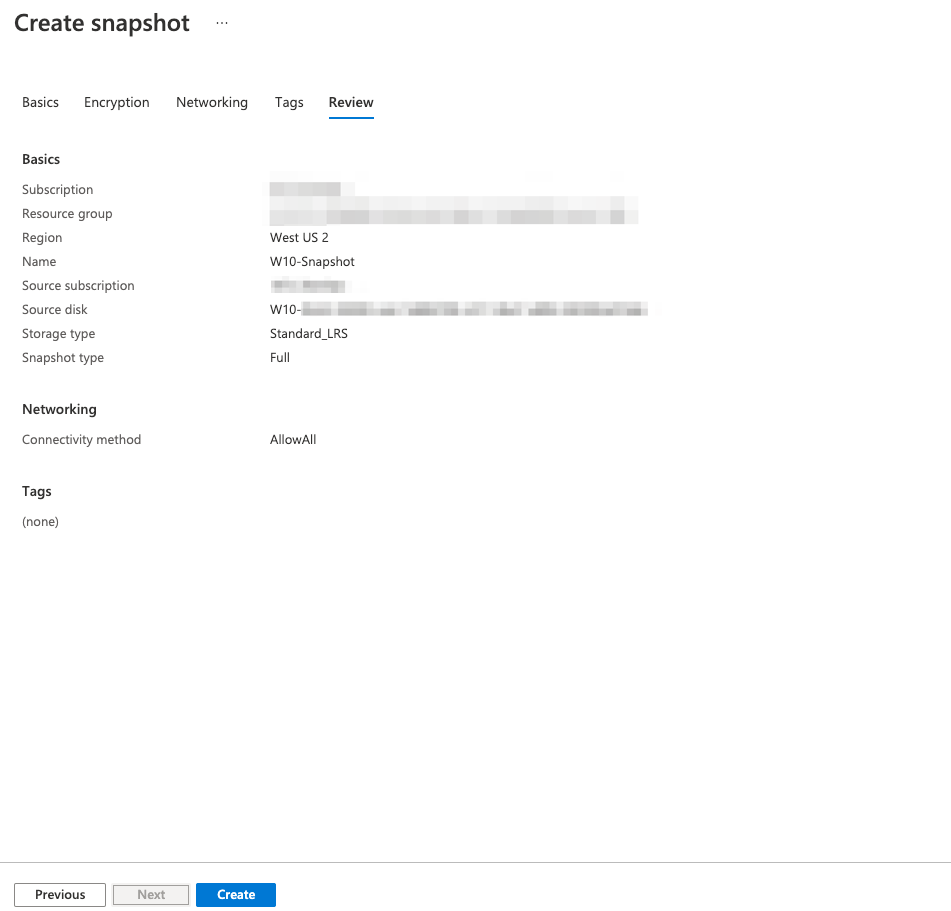
- Wait till the task is completed and you see snapshot in the resource group

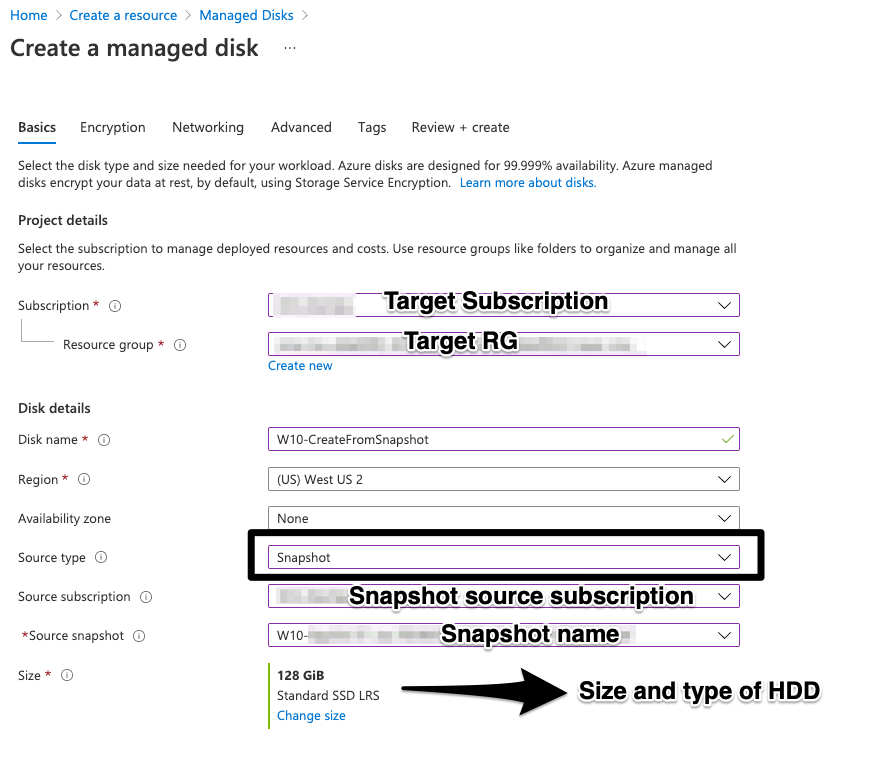
Create Managed disk from Snapshot
- Now we have a snapshot created
- Goto the Home page of Azure portal and click on Create a resource

- Serach for Managed disks and select from the drop down
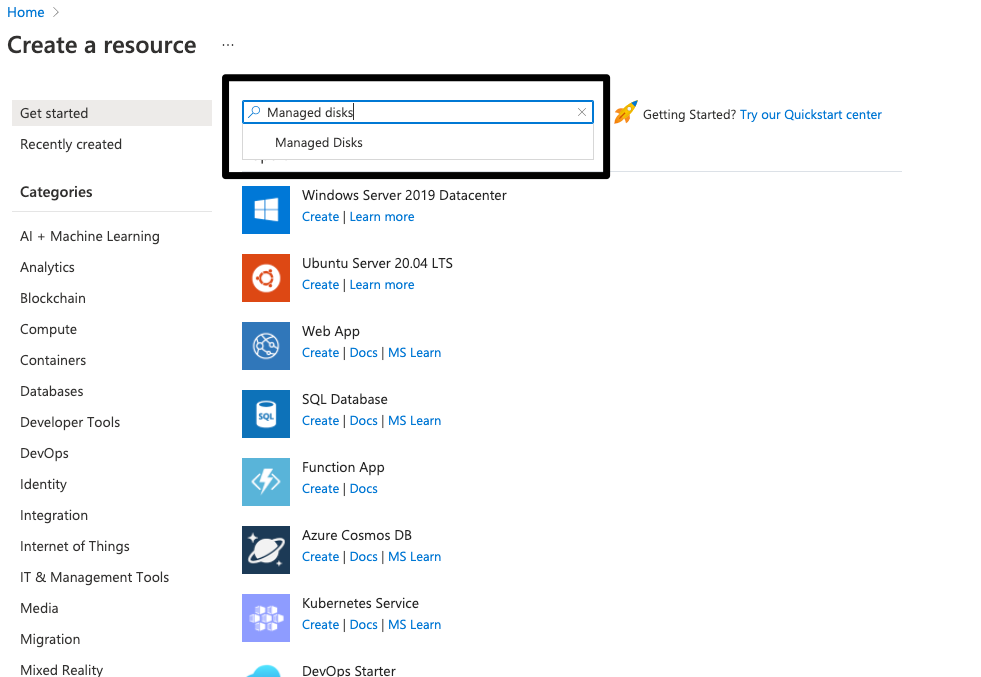
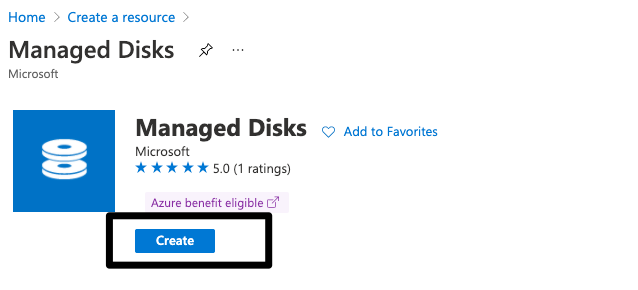
- Click on Create
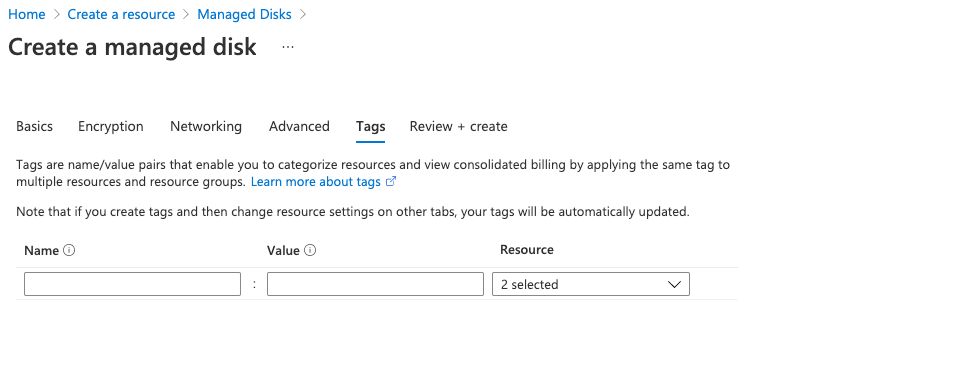
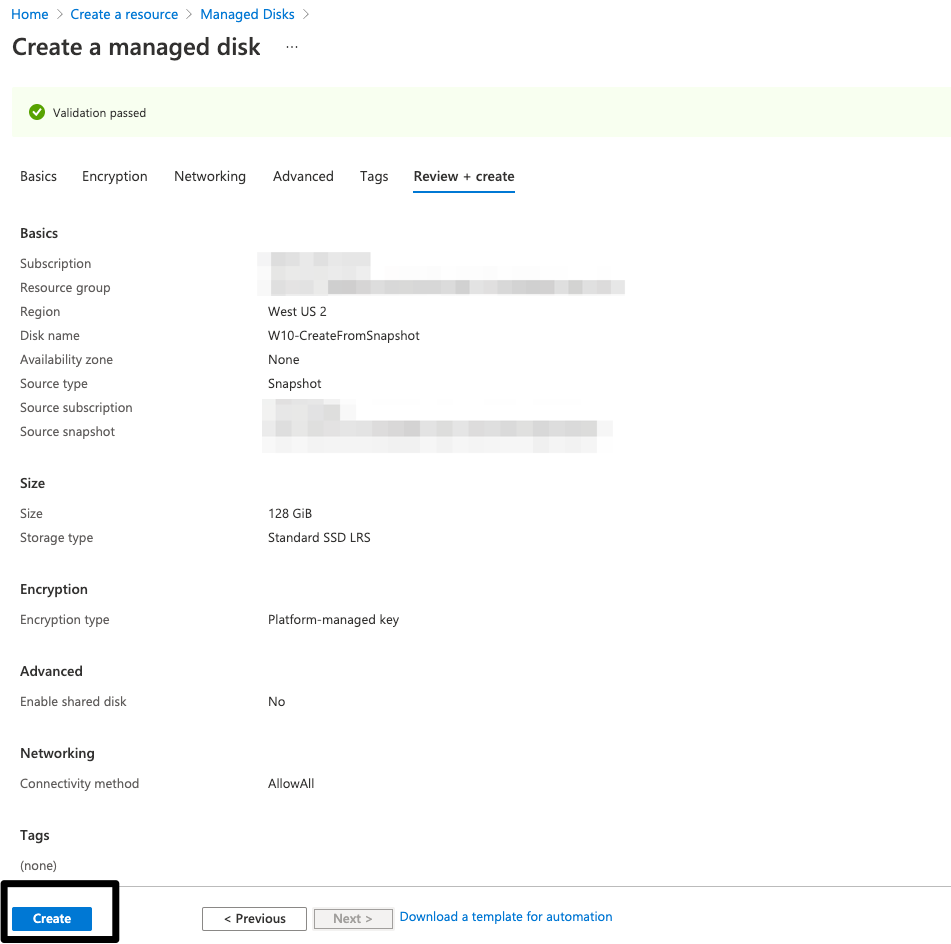
- Provide the required details to create a clone VM. Screenshots below
Create a VM from Managed disk
Create VM from Managed disk requires PowerShell to complete
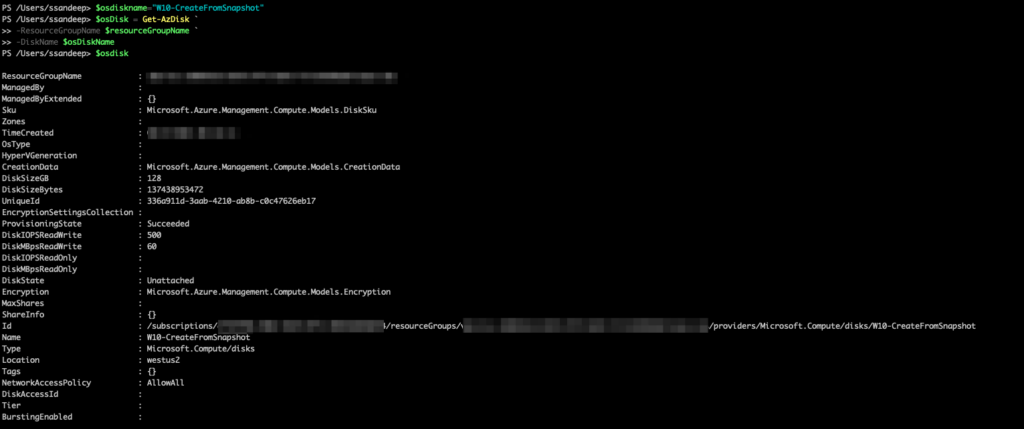
I have captured screenshots for creating VM and copying the commands used below
$resourcegroupname="<resourceGroupName>"

#Exiting disk
$osdiskname="W10-CreateFromSnapshot"
$osDisk = Get-AzDisk -ResourceGroupName $resourceGroupName -DiskName $osDiskName

#Exiting vNet & NSG
$vnetname="<existing vnetname>"

(Get-AzVirtualNetwork -Name $vnetname)|select subnets

#based on above output i have selected the subnet
$vnet=(Get-AzVirtualNetwork -Name $vnetname).Subnets[1].id

$location = 'westus2'

$nsgname="<existing nsgname>"
$nsg=Get-AzNetworkSecurityGroup -Name $nsgname

# nic from existing nsg and vNet
$nicName = "W10-CreateFromSnapshot-nic-tenant"
$nic = New-AzNetworkInterface -Name $nicName `
   -ResourceGroupName $resourcegroupname `
   -Location $location -SubnetId $vnet `
   -NetworkSecurityGroupId $nsg.Id

#VM configuration
$vmname="W10-CreateFromSnapshot"
$vmConfig=New-AzVMConfig -VMName $vmName -VMSize "Standard_B2ms"

#New network interface for VM
$vm = Add-AzVMNetworkInterface -VM $vmConfig -Id $nic.Id

#Add the disk
$vm = Set-AzVMOSDisk -VM $vm -ManagedDiskId $osDisk.Id -StorageAccountType Standard_LRS `
    -DiskSizeInGB 128 -CreateOption Attach -Windows

#Create VM
New-AzVM -ResourceGroupName $resourcegroupname -Location $location -VM $vm
